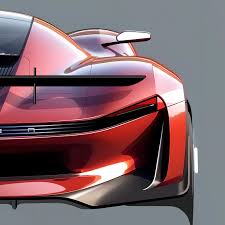
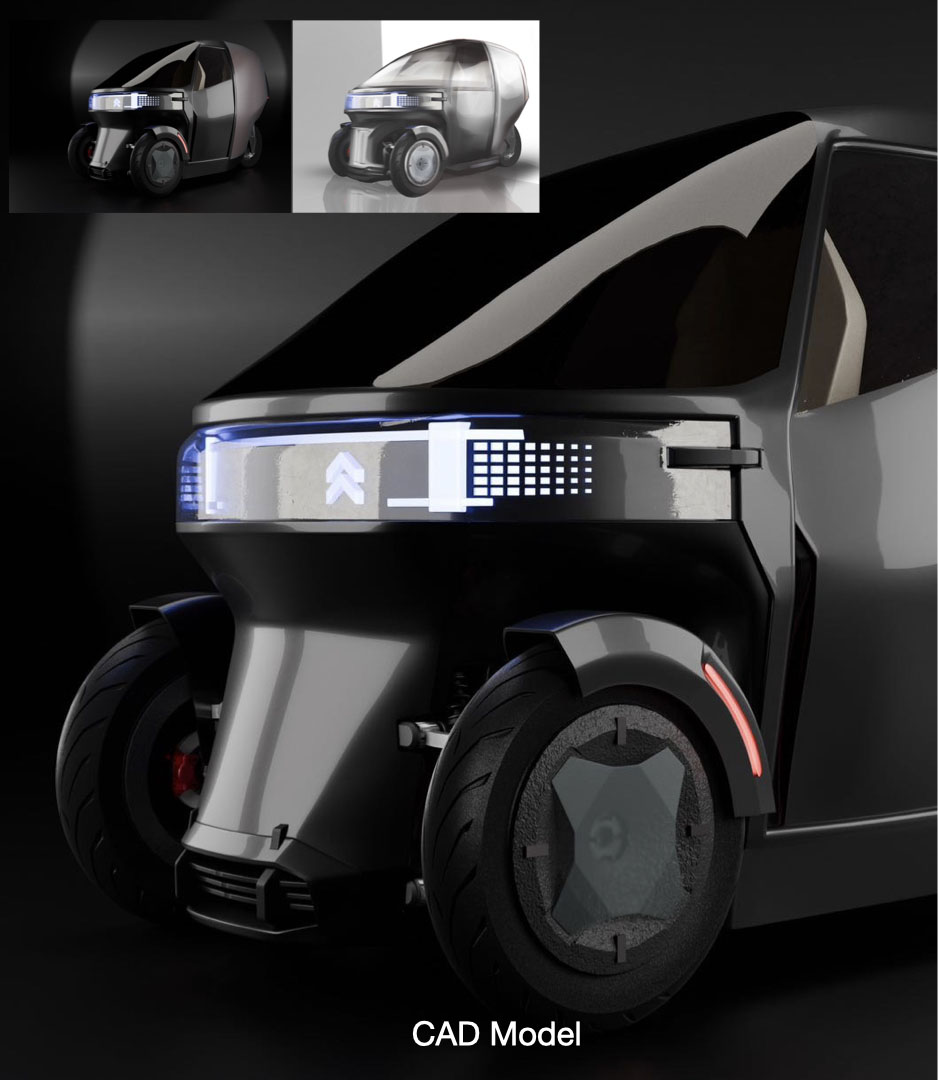
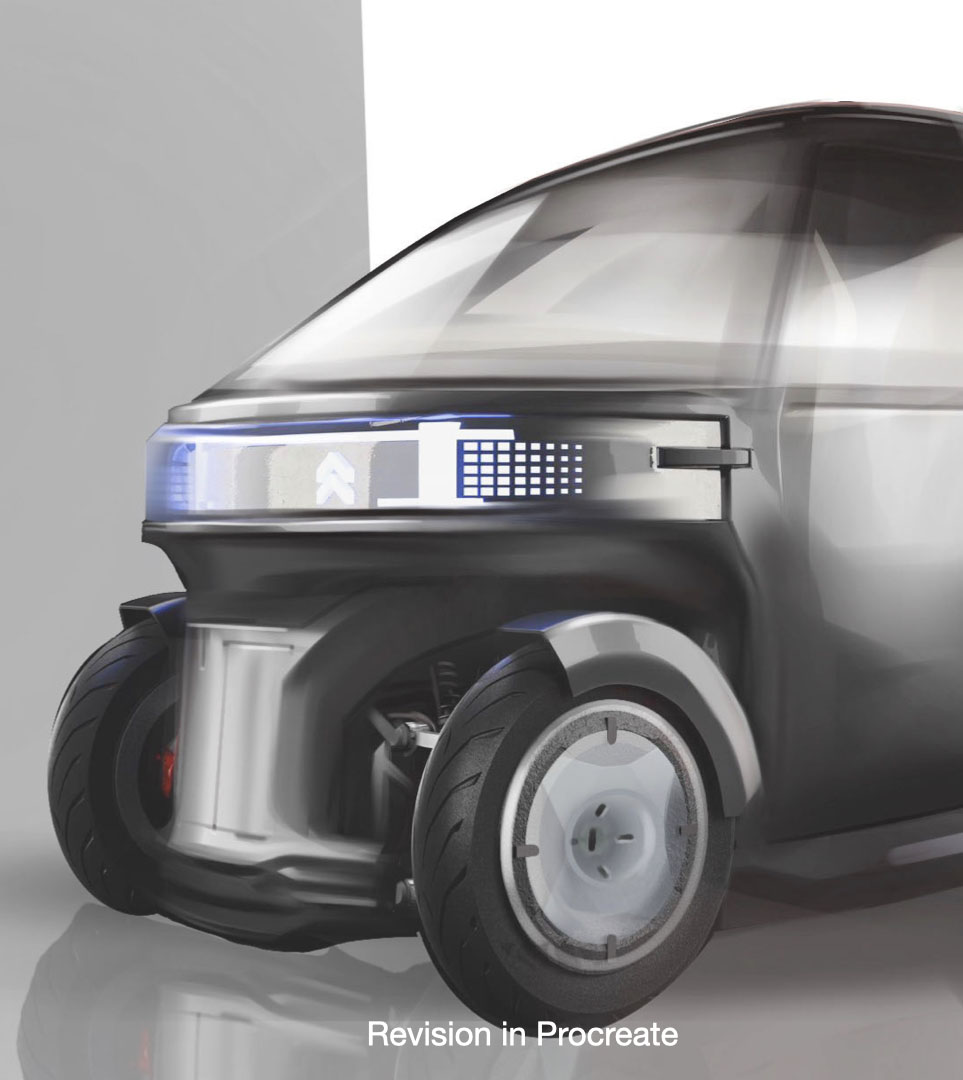
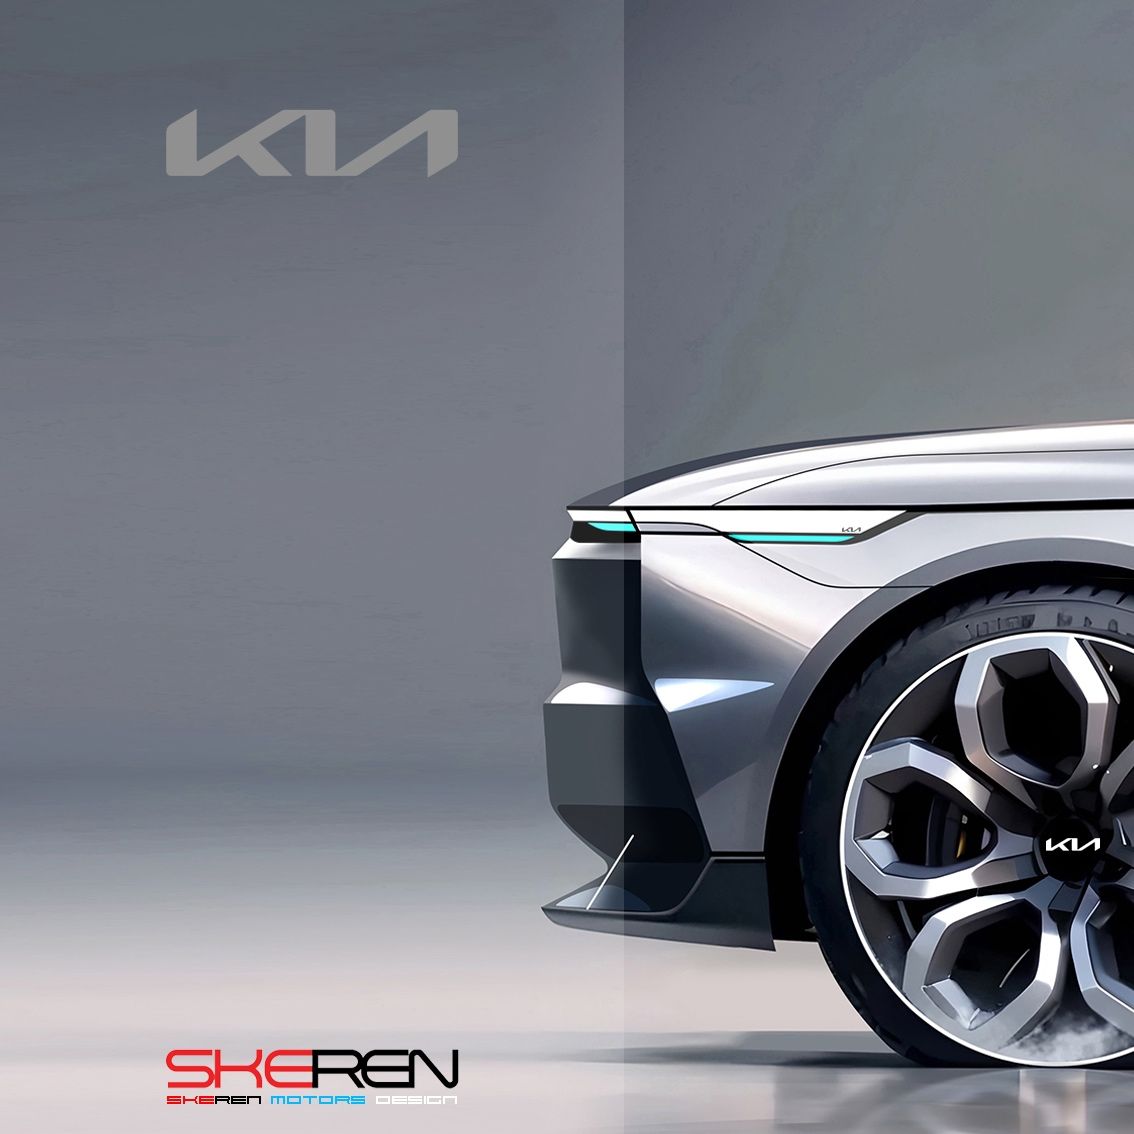
Push it to Keyshot level rendering quality in PS or procreate.
1. Train your eyes to see details.
2. Understand value and shading.
3. Plan in detail
before committing to CAD.
4. Final touch-up after CAD rendering.
* Students mastercopy work by NC State ID Class of 2024, Danny Wang. Miami Celentana from DAAP ID Class of 2027
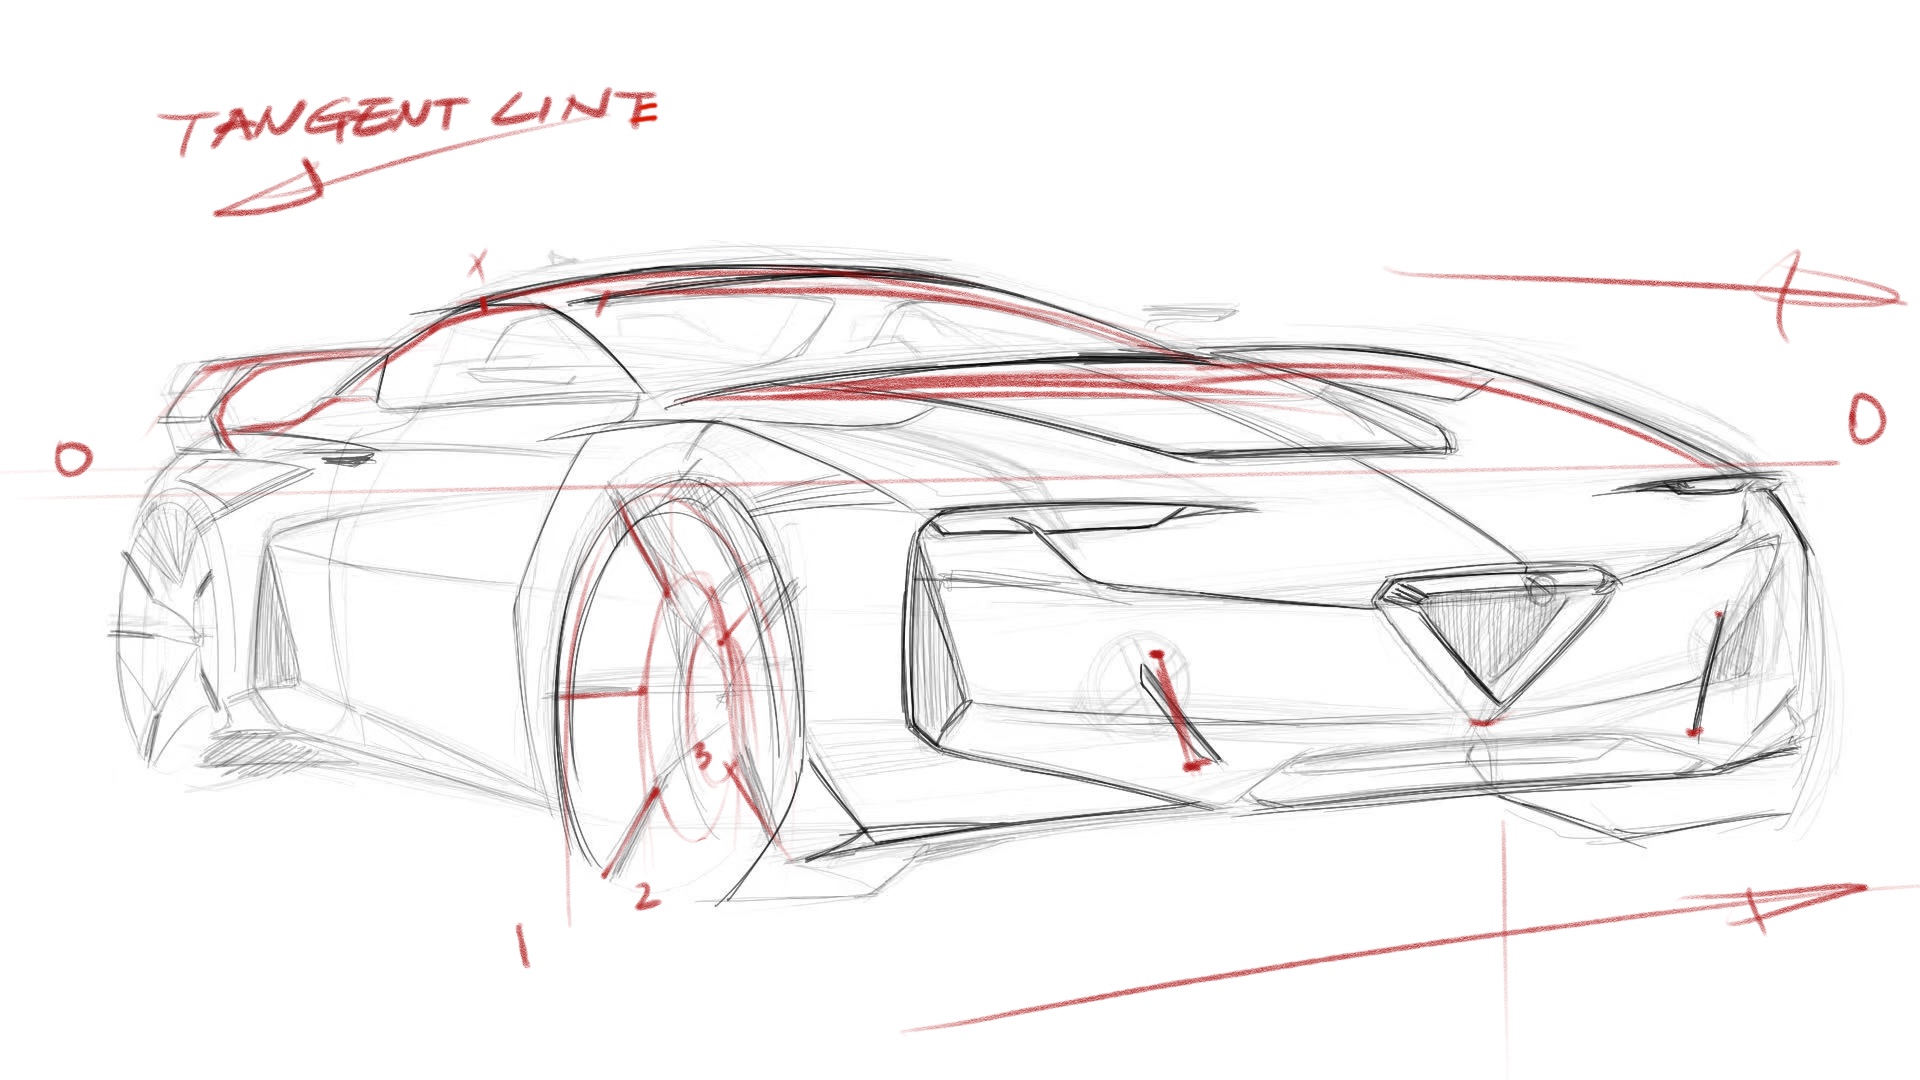
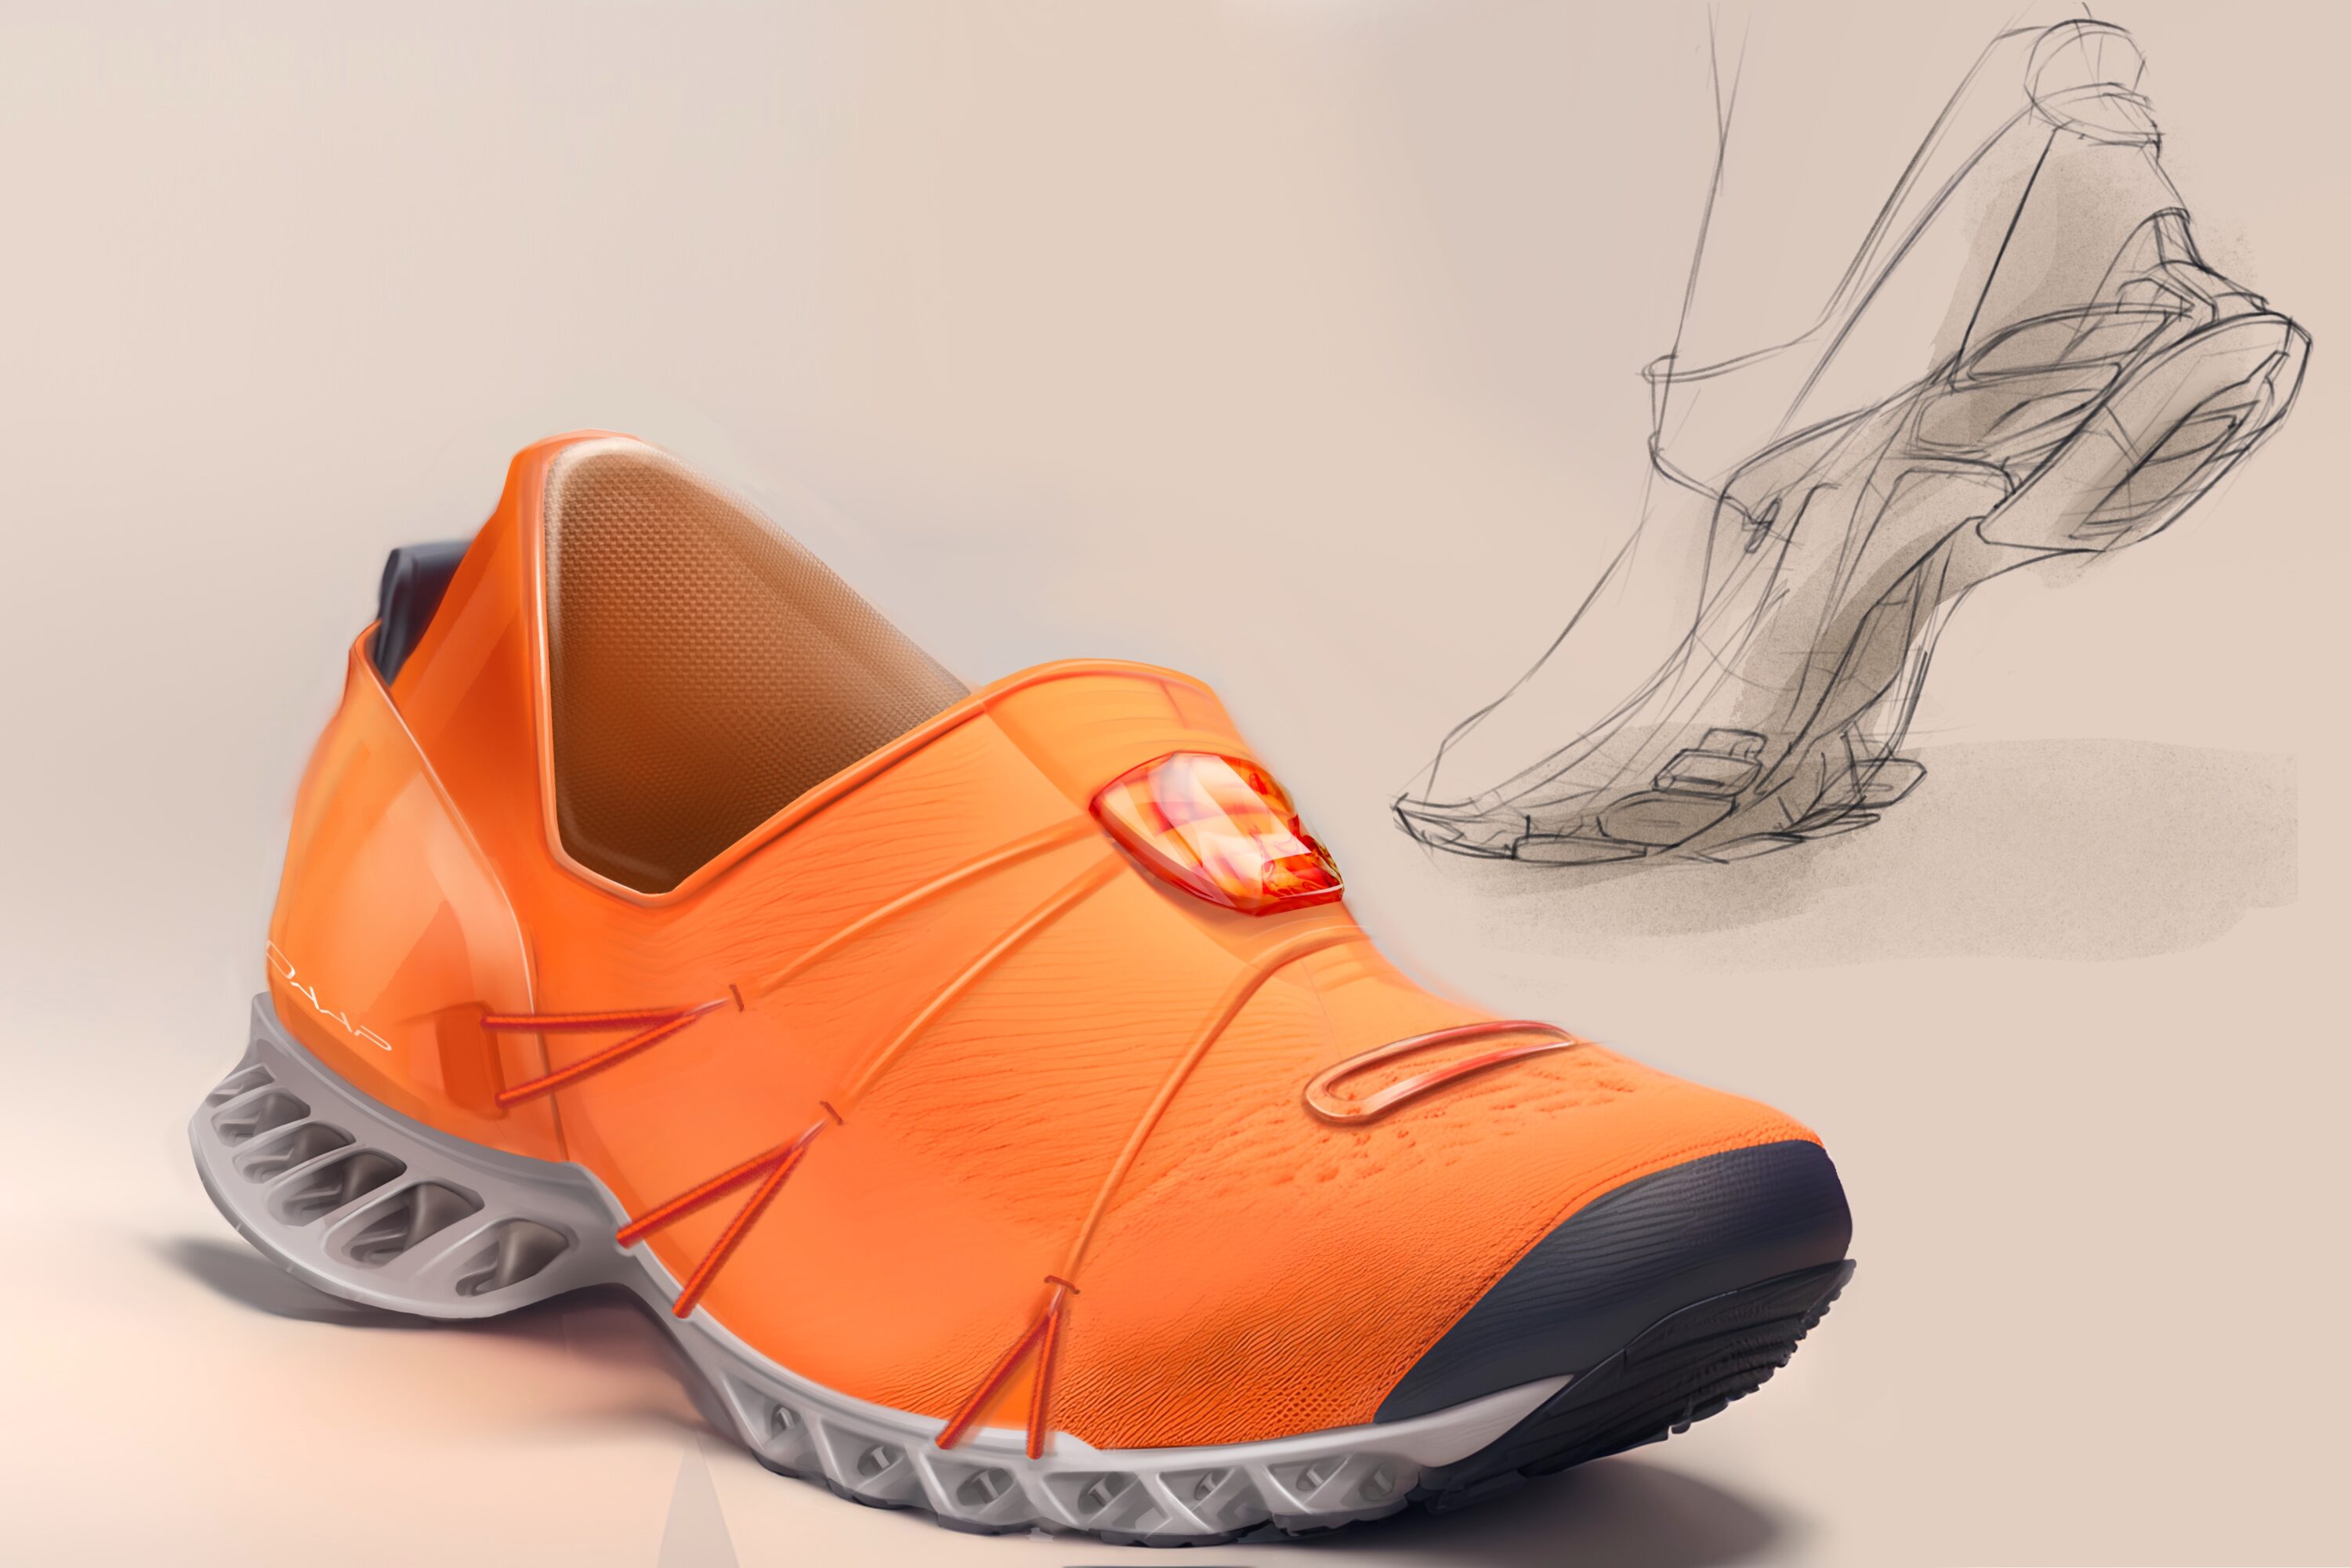
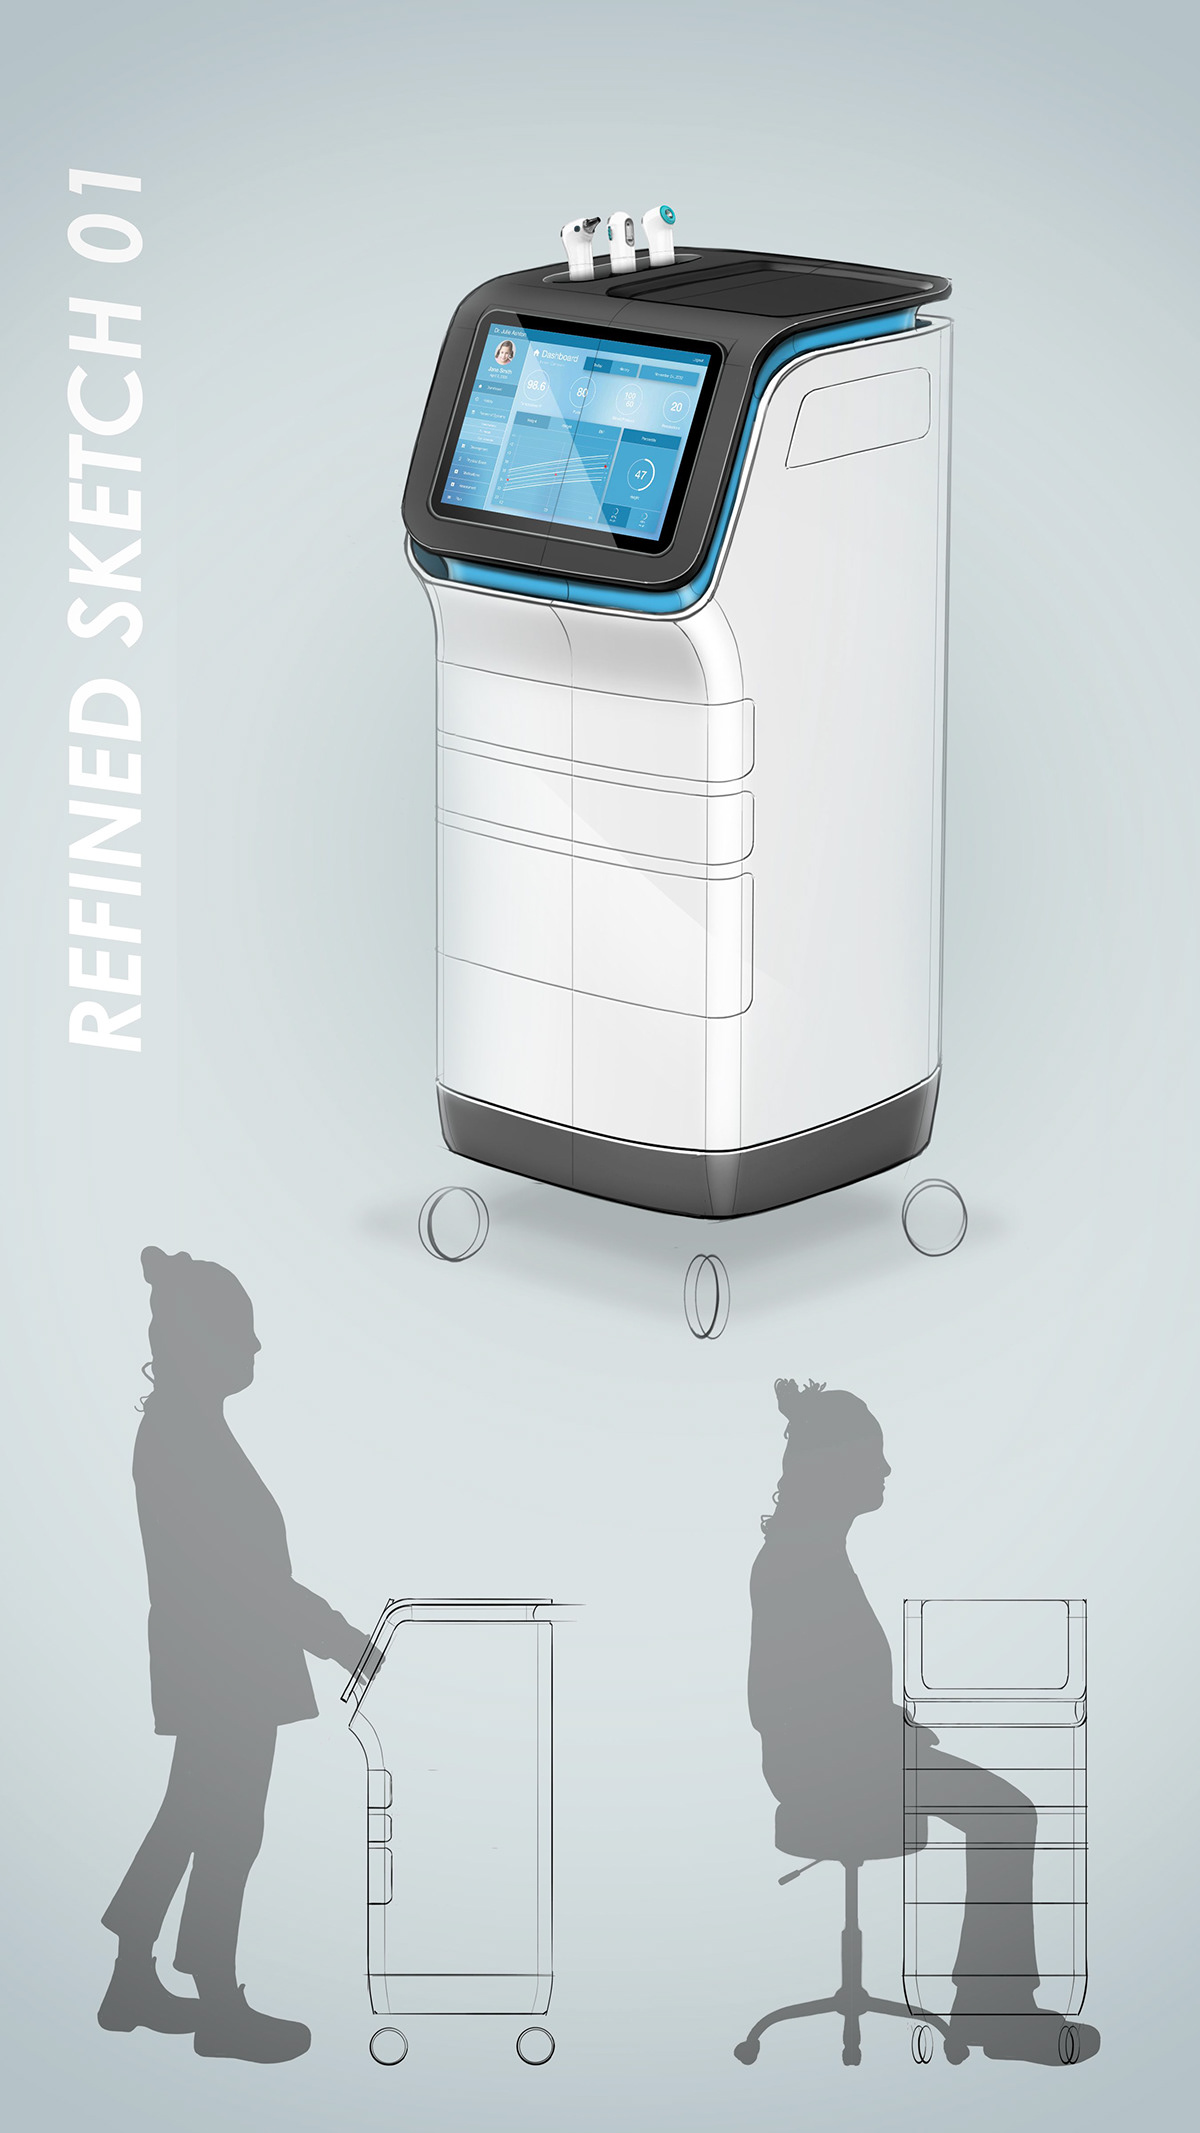
Develop Sketching Skills
Prepare for Perspective Rendering
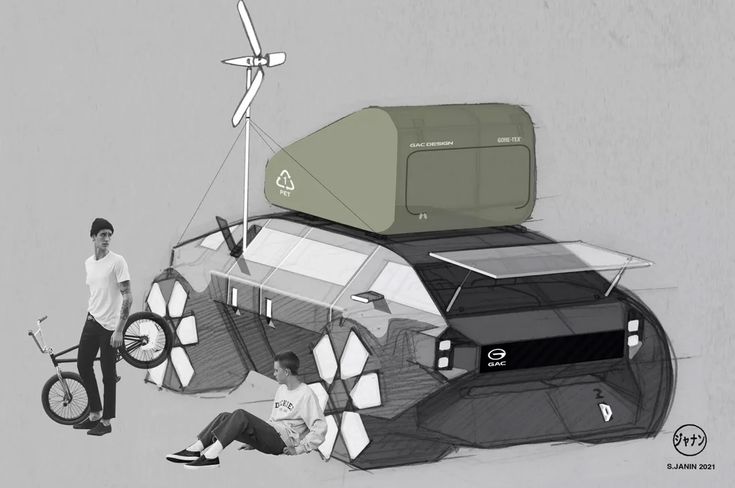
Design is not just about why you are designing this and how you did it. Design is also about “WHY NOT,” pushing boundaries and challenging the status quo. Please develop design competence of exhaustive exploration, deep and thorough.
Practice Sketching along with Rendering. – A flawed perspective compromises even the best rendering!
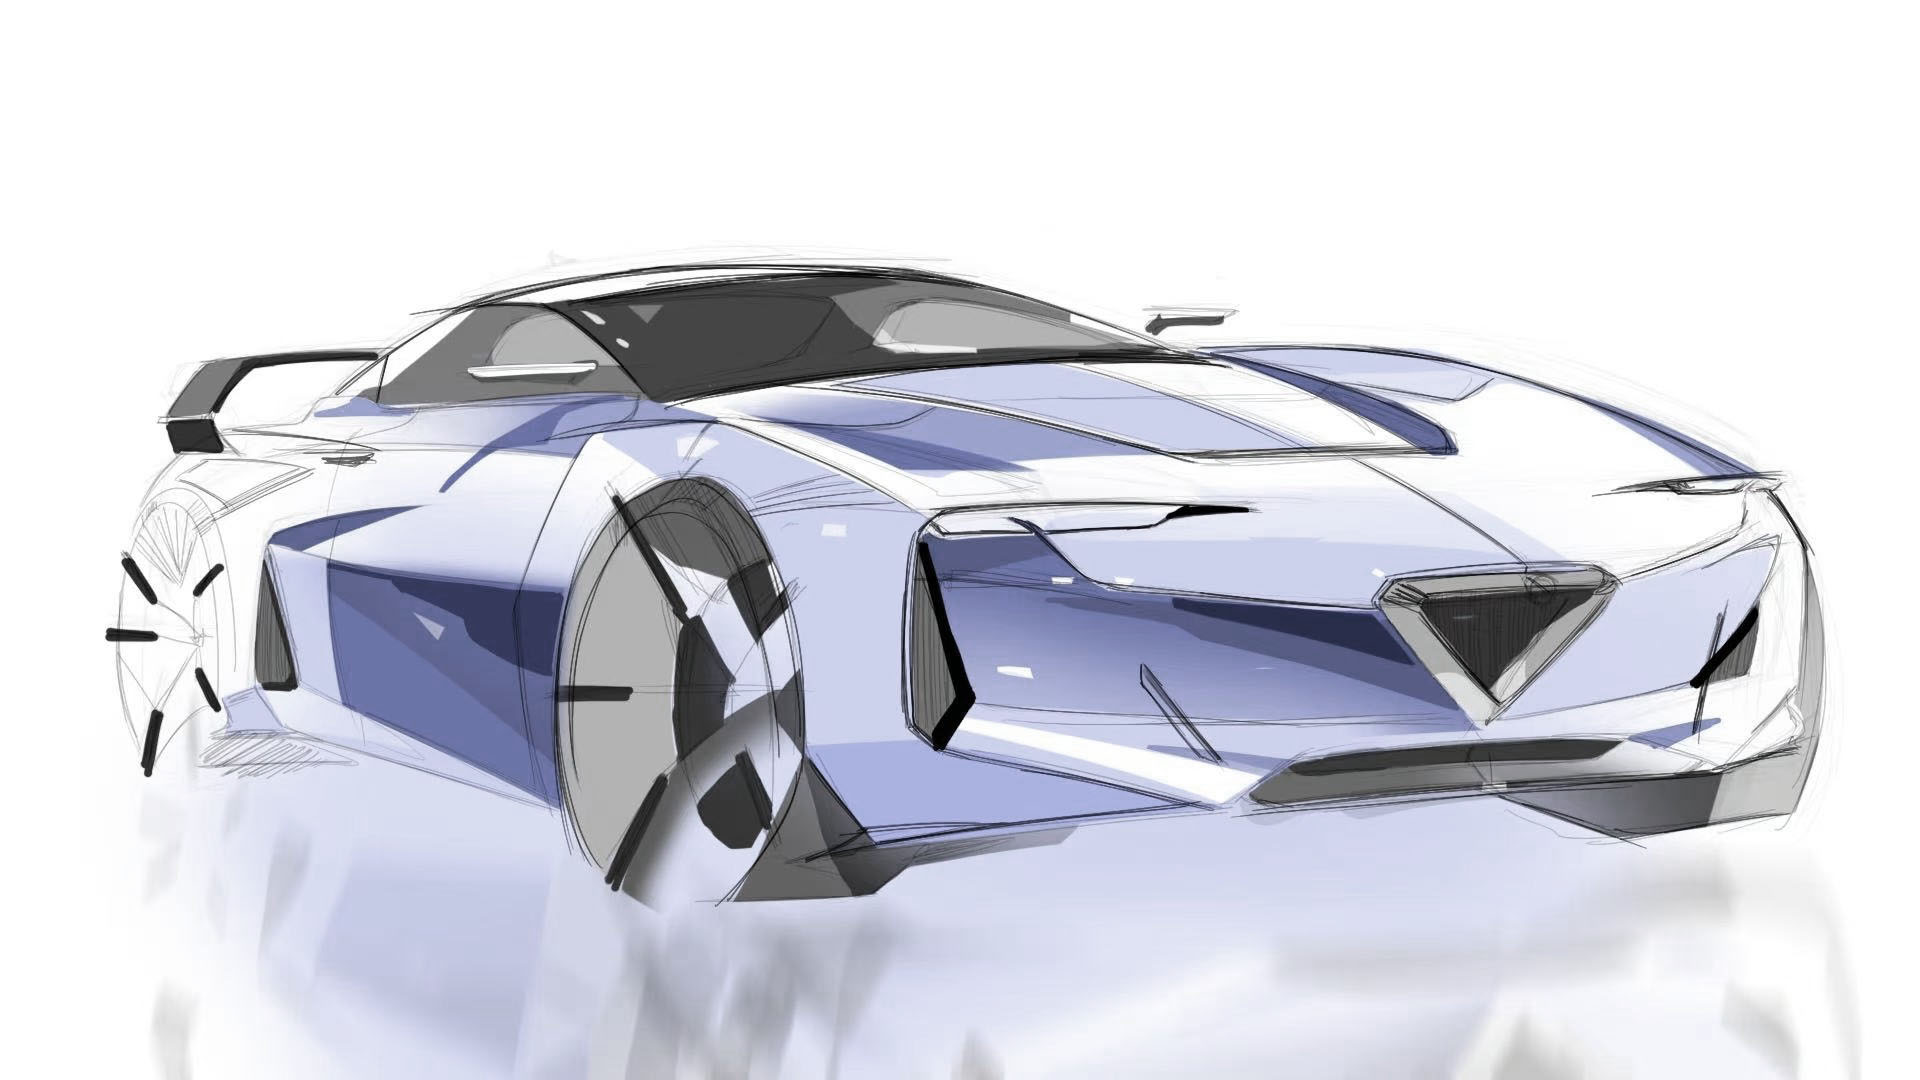
1.Catch every details in your rendering, and analyze the subtleties of design decisions in every detail.
2. Challenge yourself to improve CAD skills by making detailed plan.
3. Make more high-resolution iterations between CAD and realistic rendering, making deliberate choices on every design decision. (high-fidelity fleshed-out design proposals)
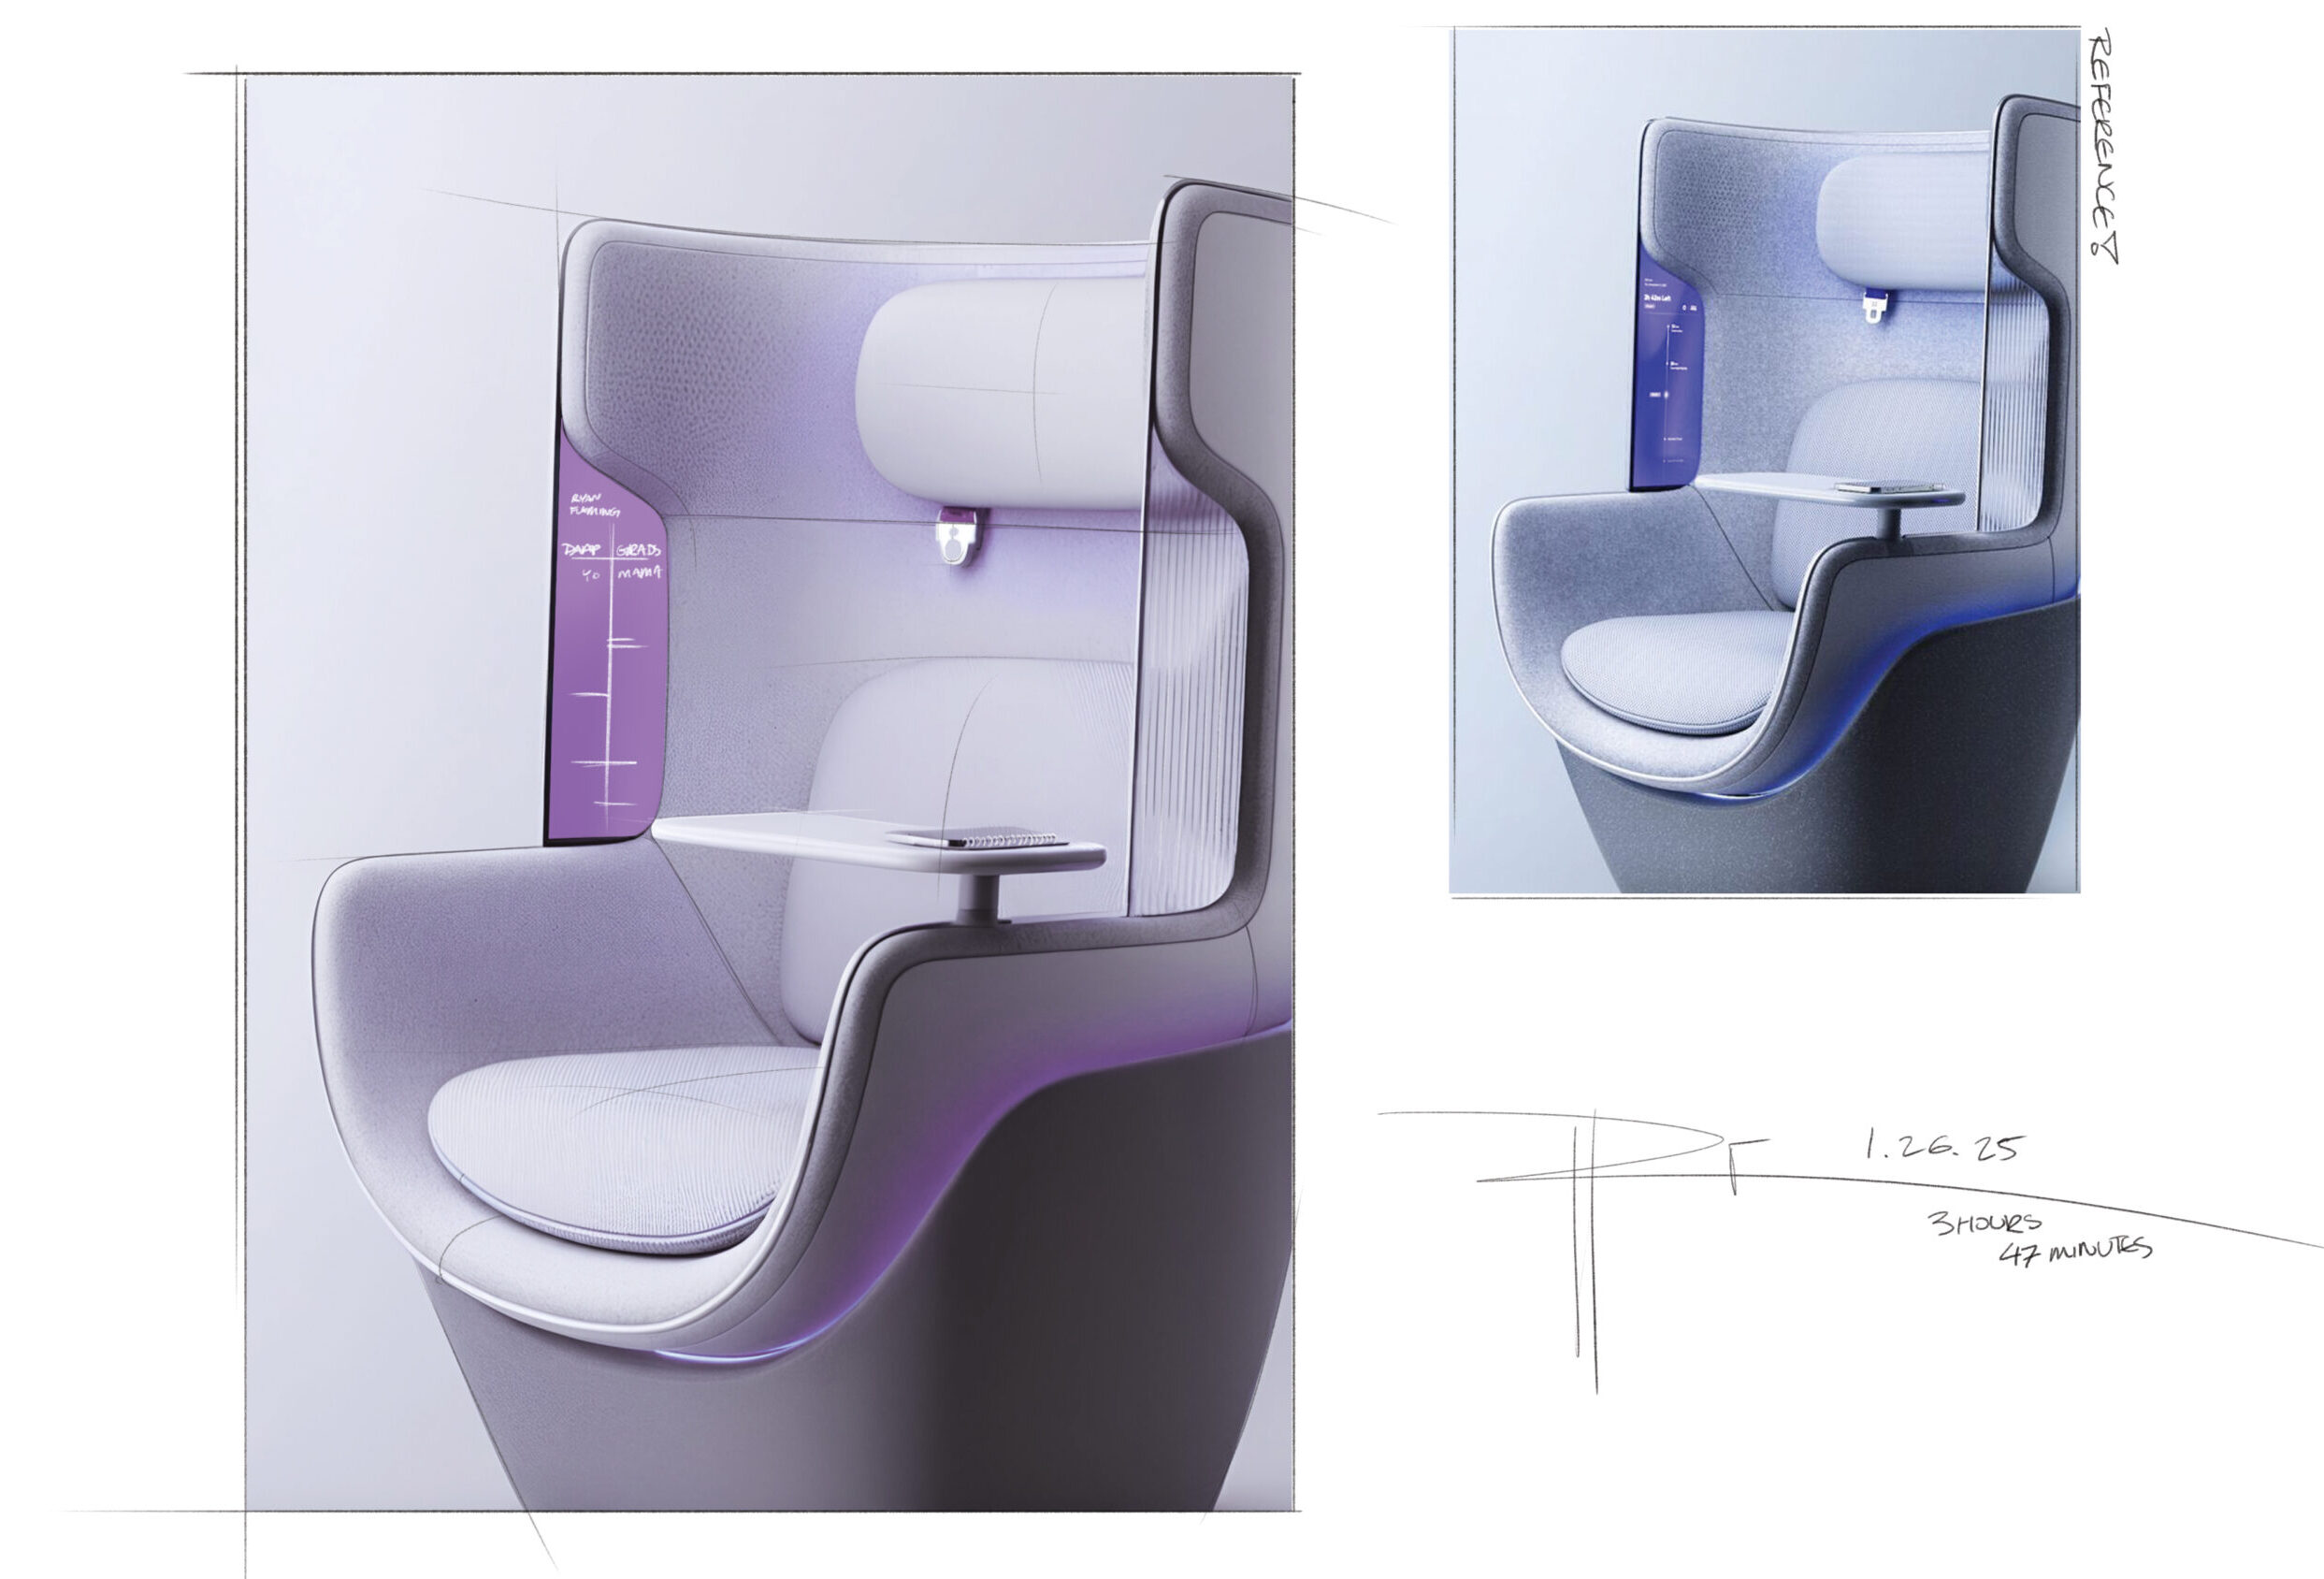
Prepare for Independent Rendering Phase
4. Train your eyes to notice every detail—chamfers, fillets, transitions, lofting, return, push out and recesses, textures. Learn how to effectively represent them.
5. Understand and memorize how light interacts with surfaces, influencing the representation of materials and forms.
* Students mastercopy work by DAAP ID Class of 2027, lovely Lucas Valerius, Titus Koesters, Josh Rising, Ryan Fleming.
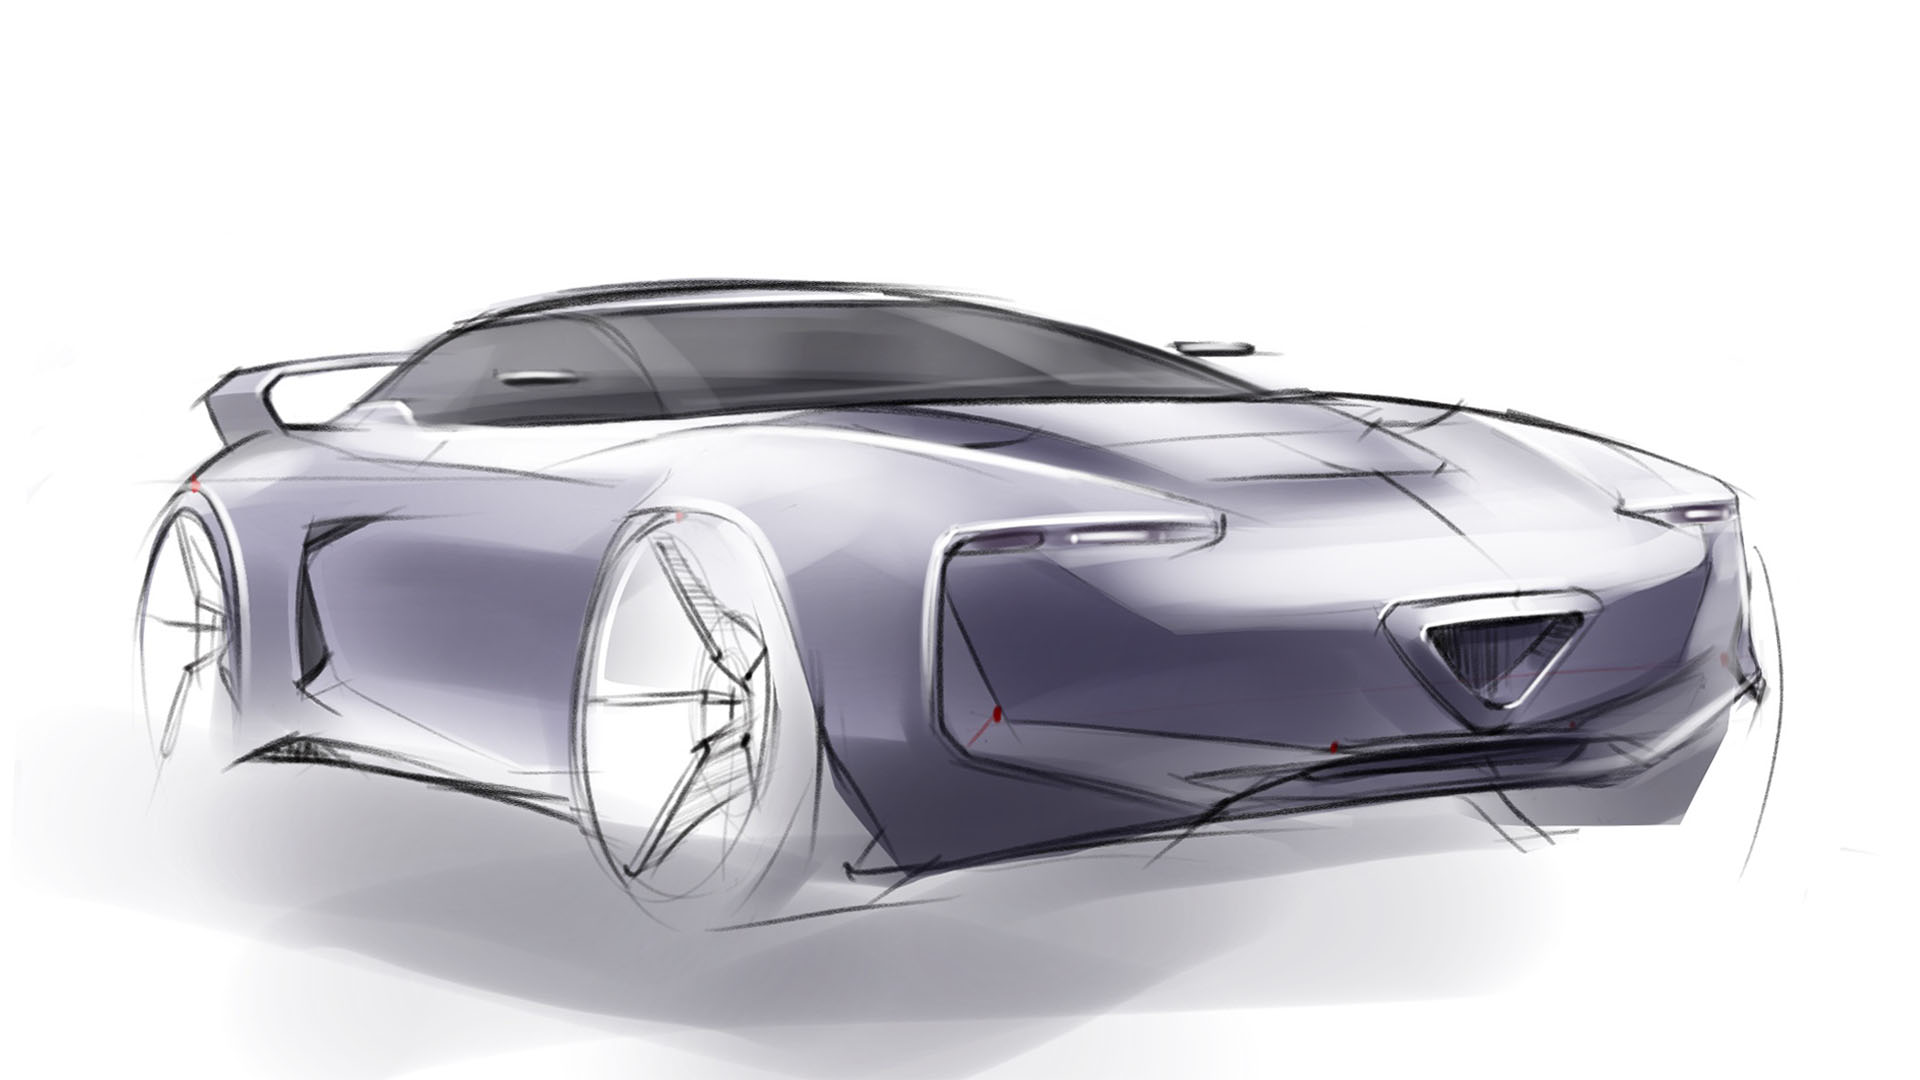
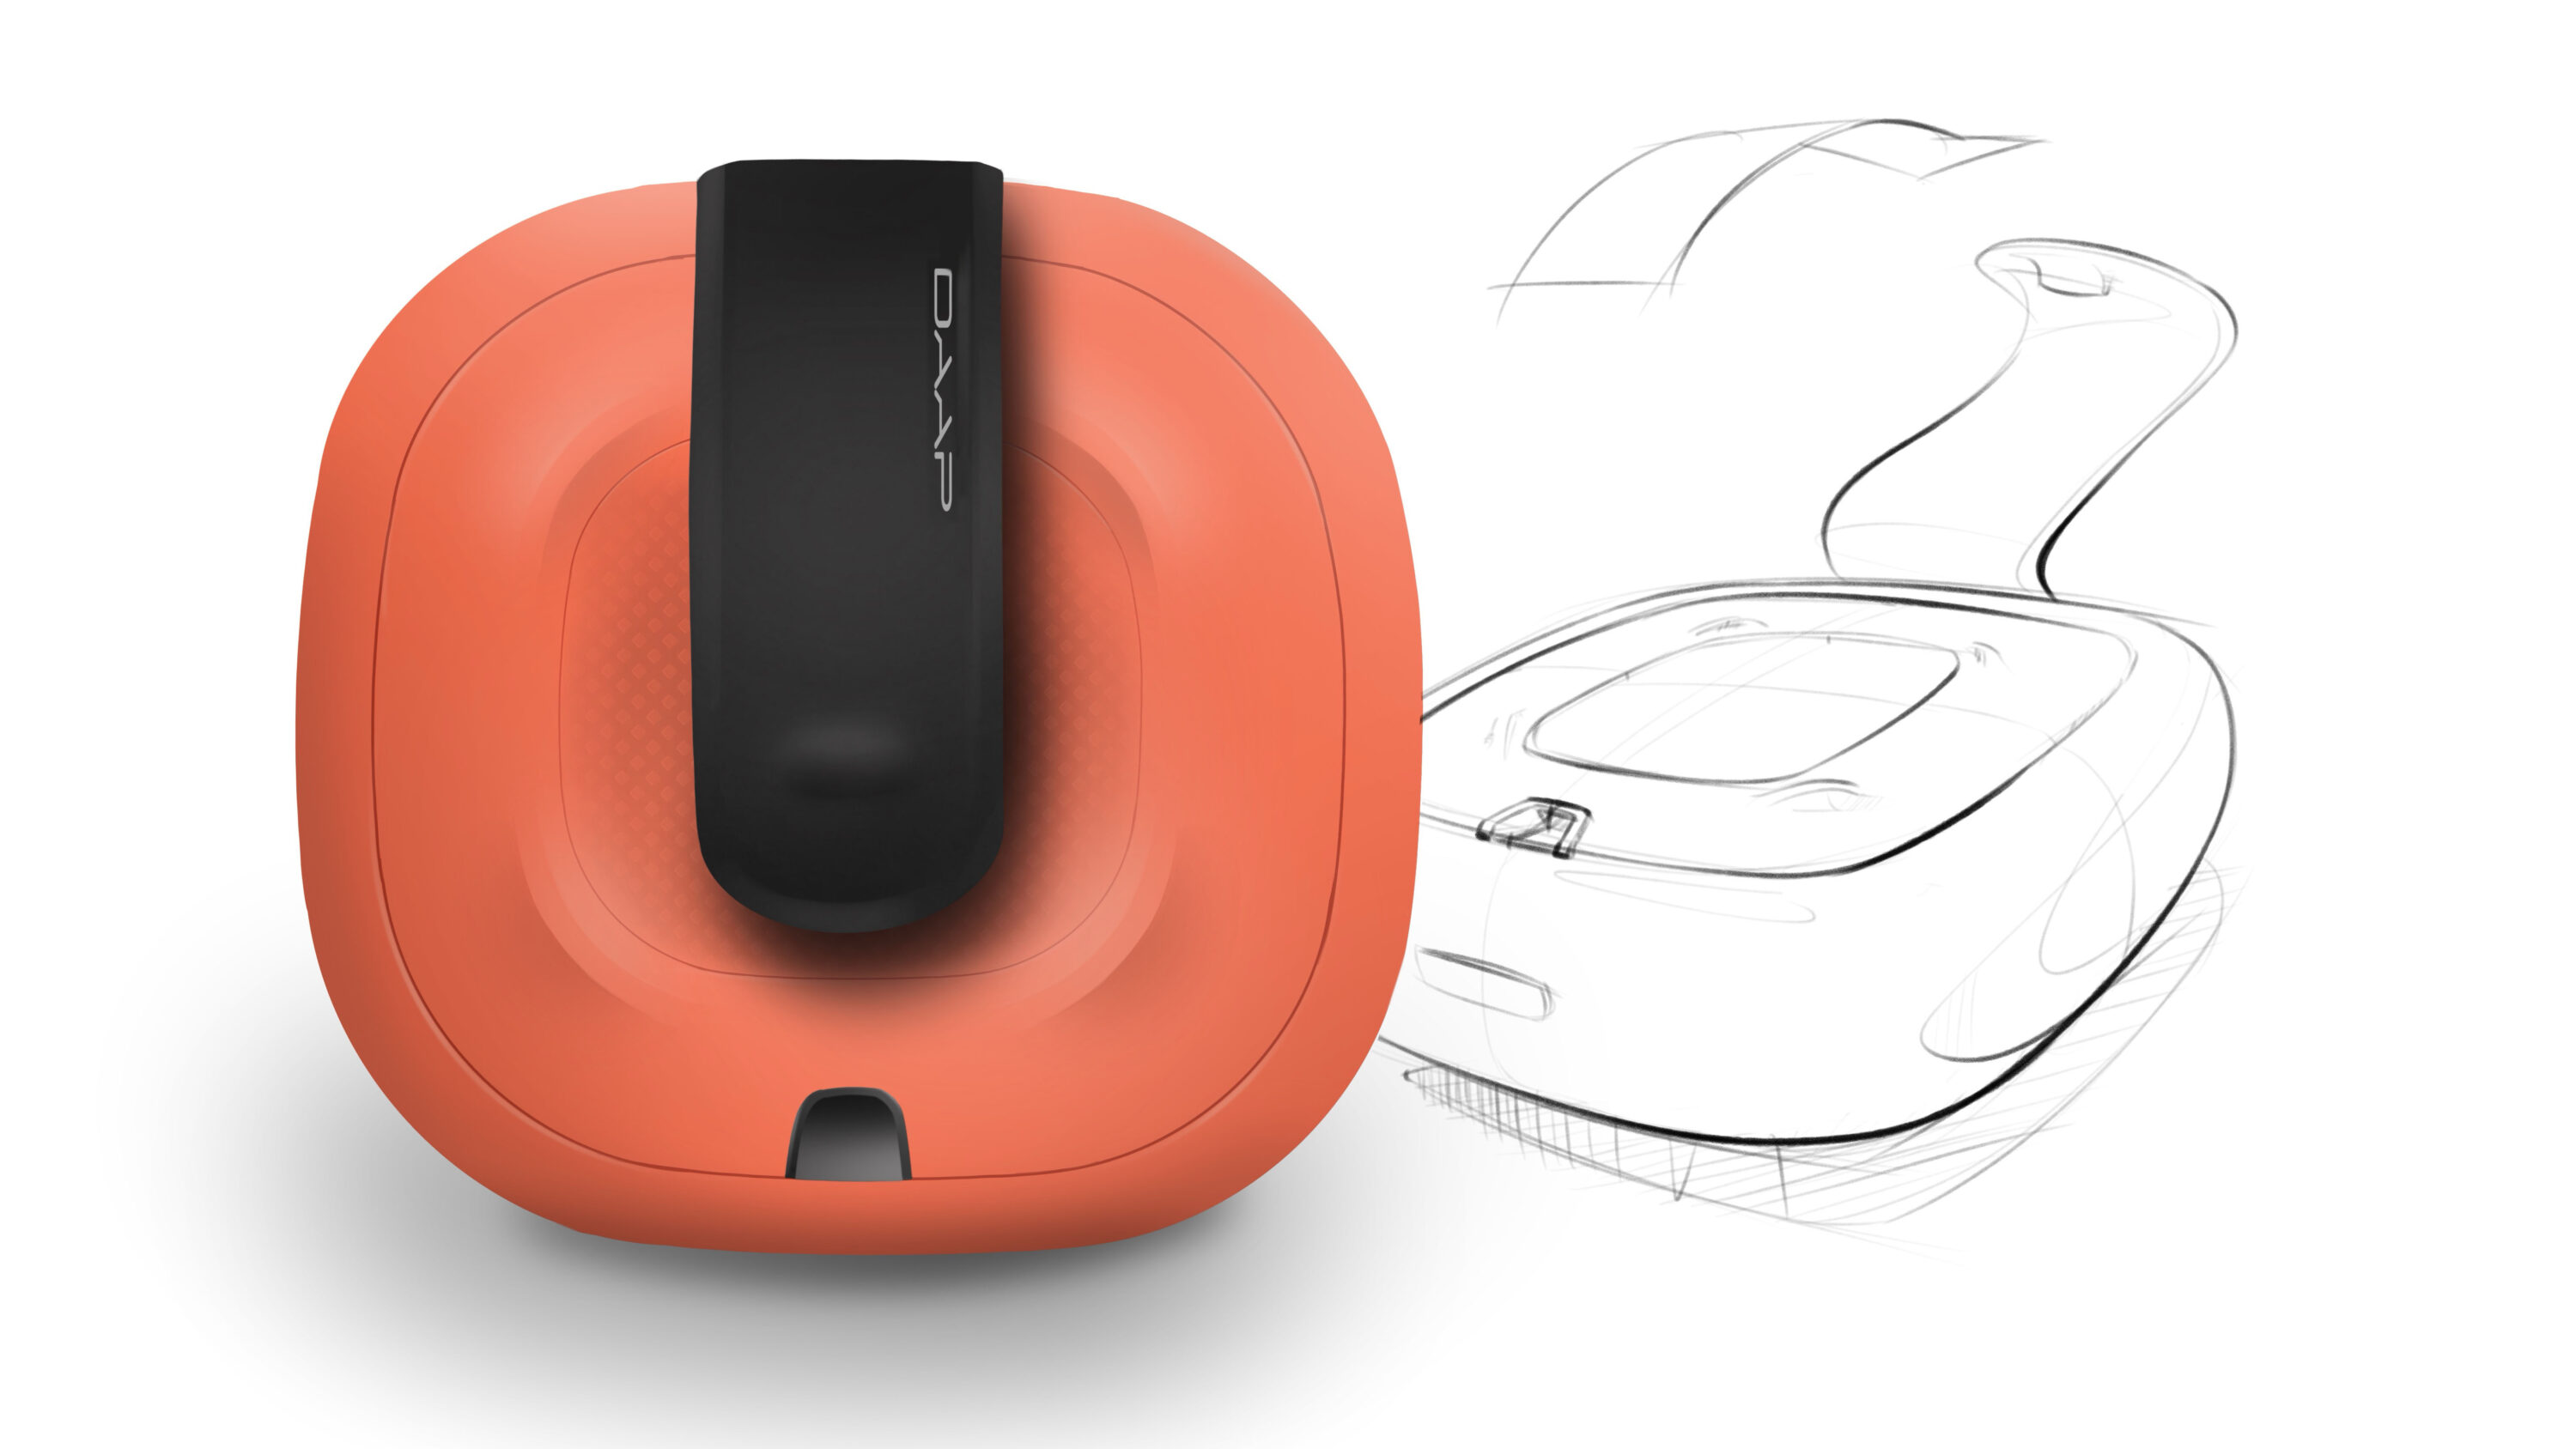
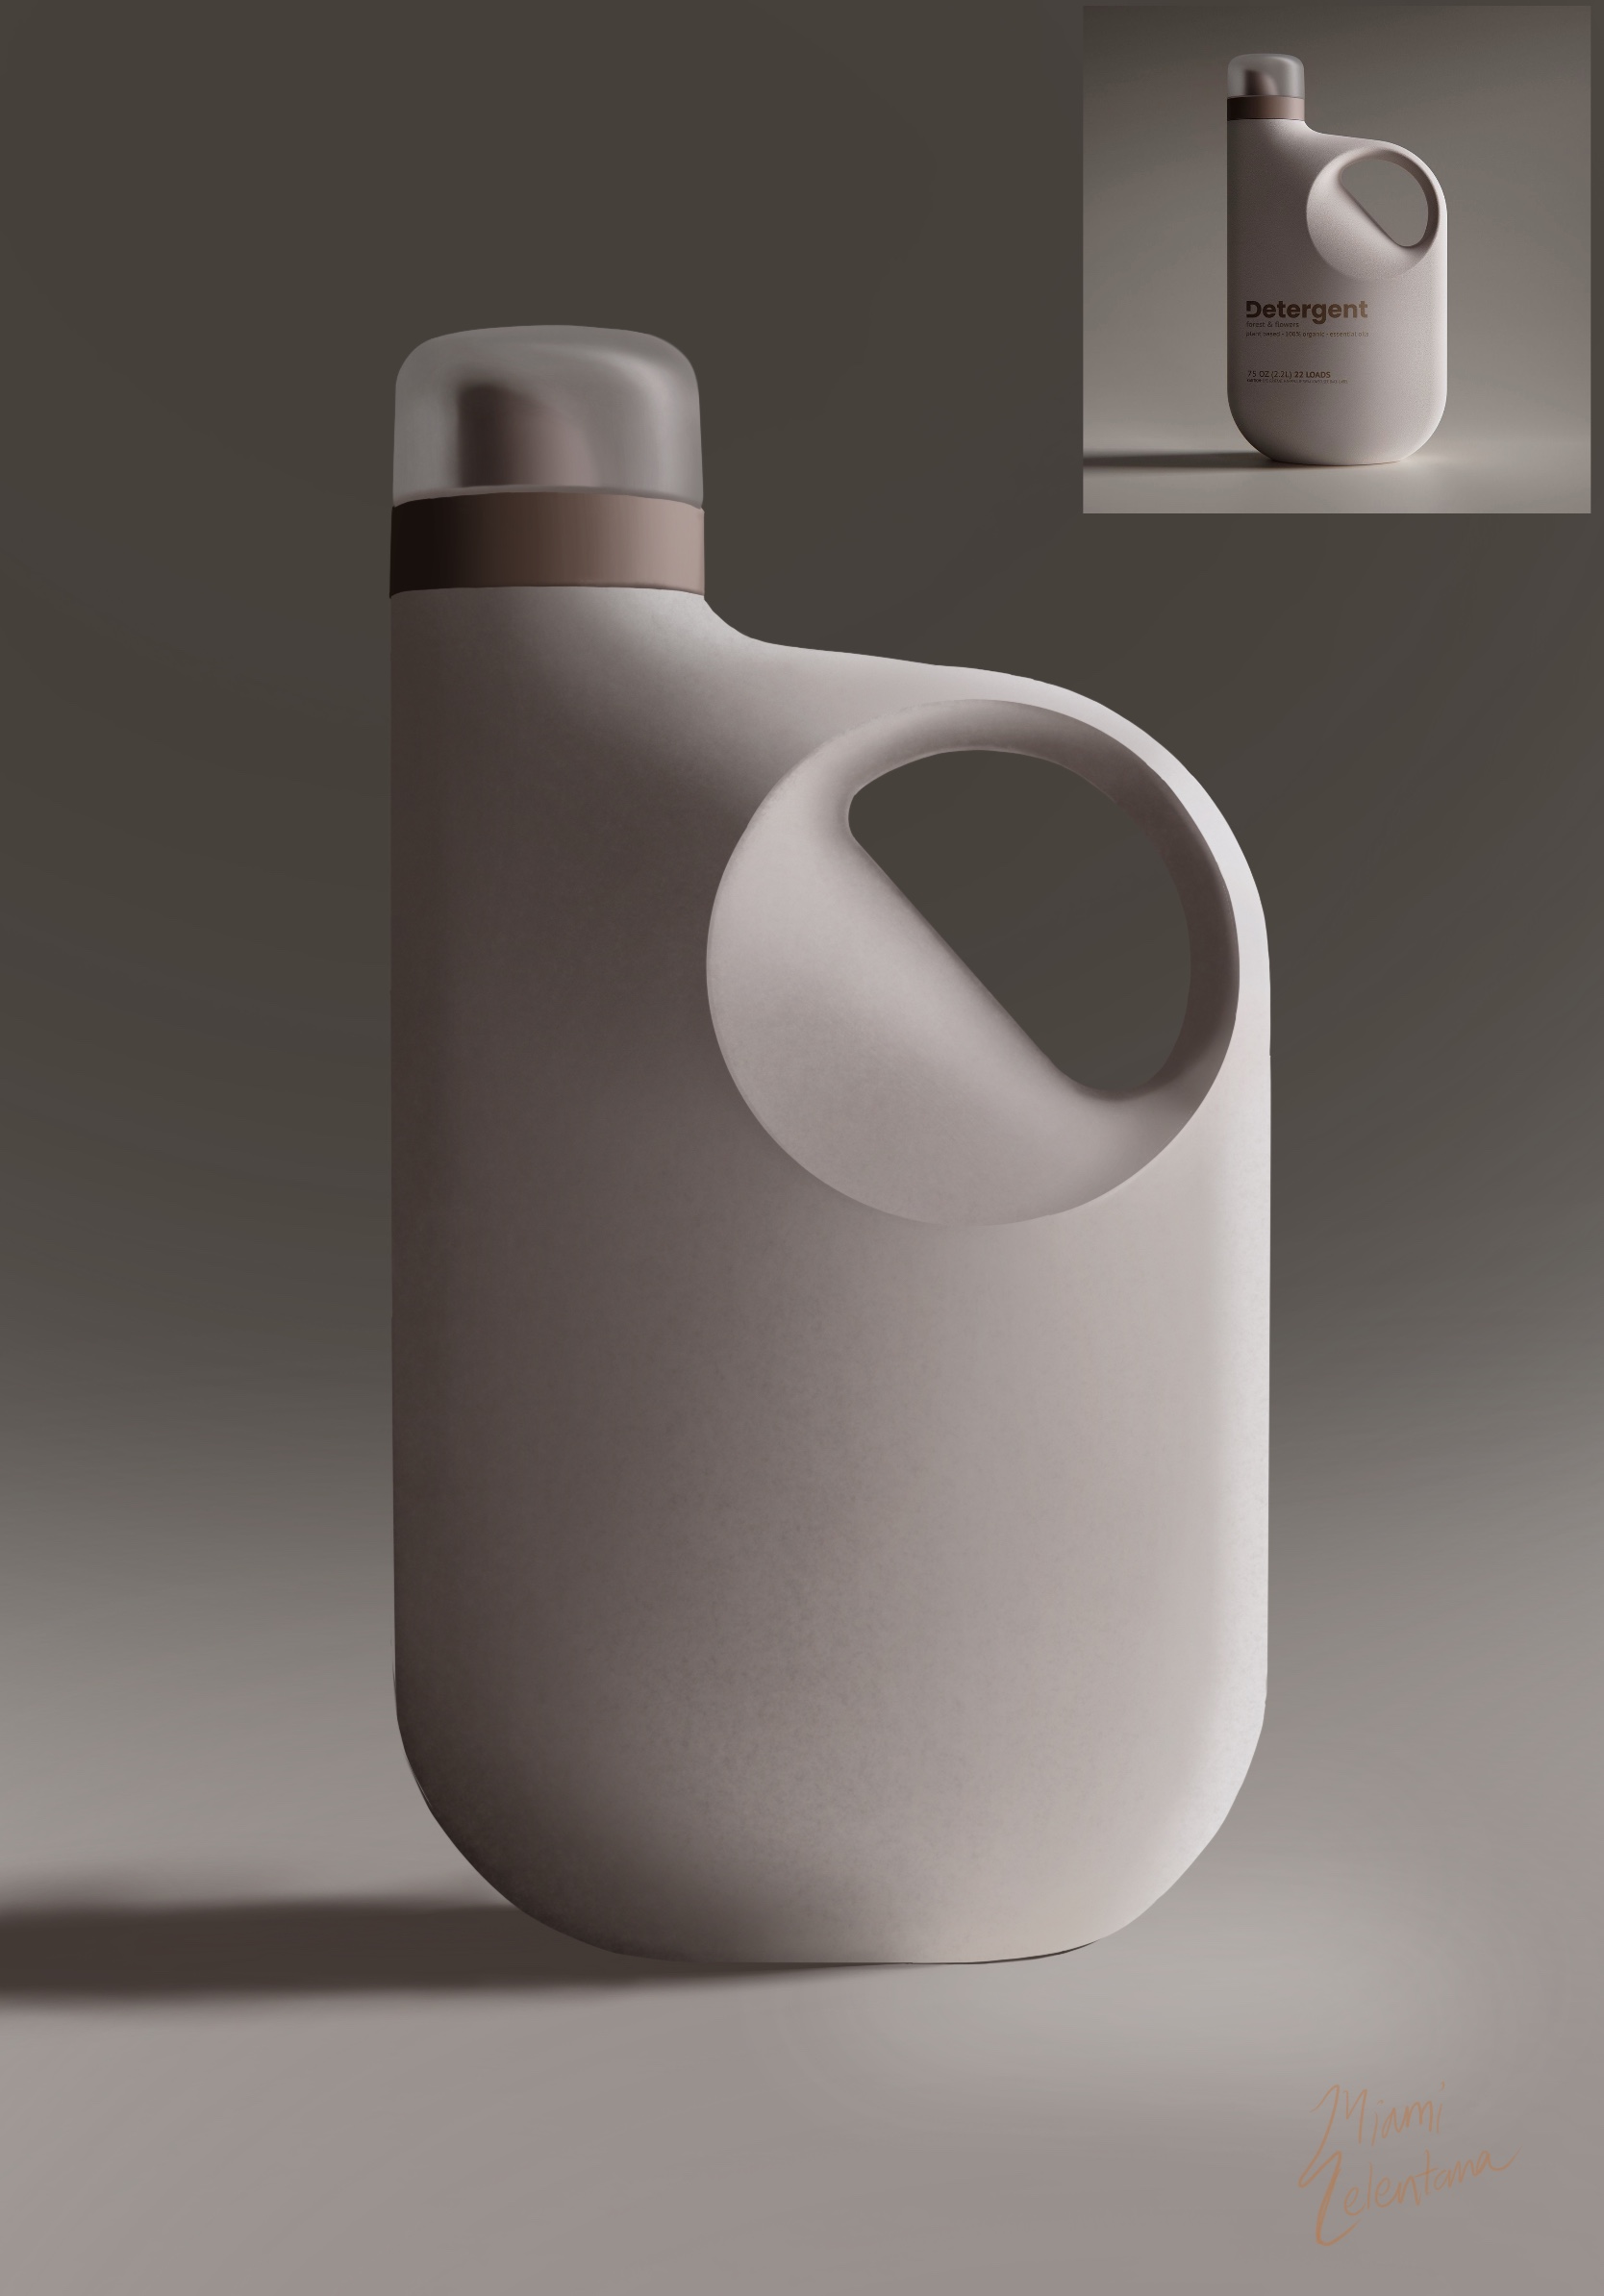
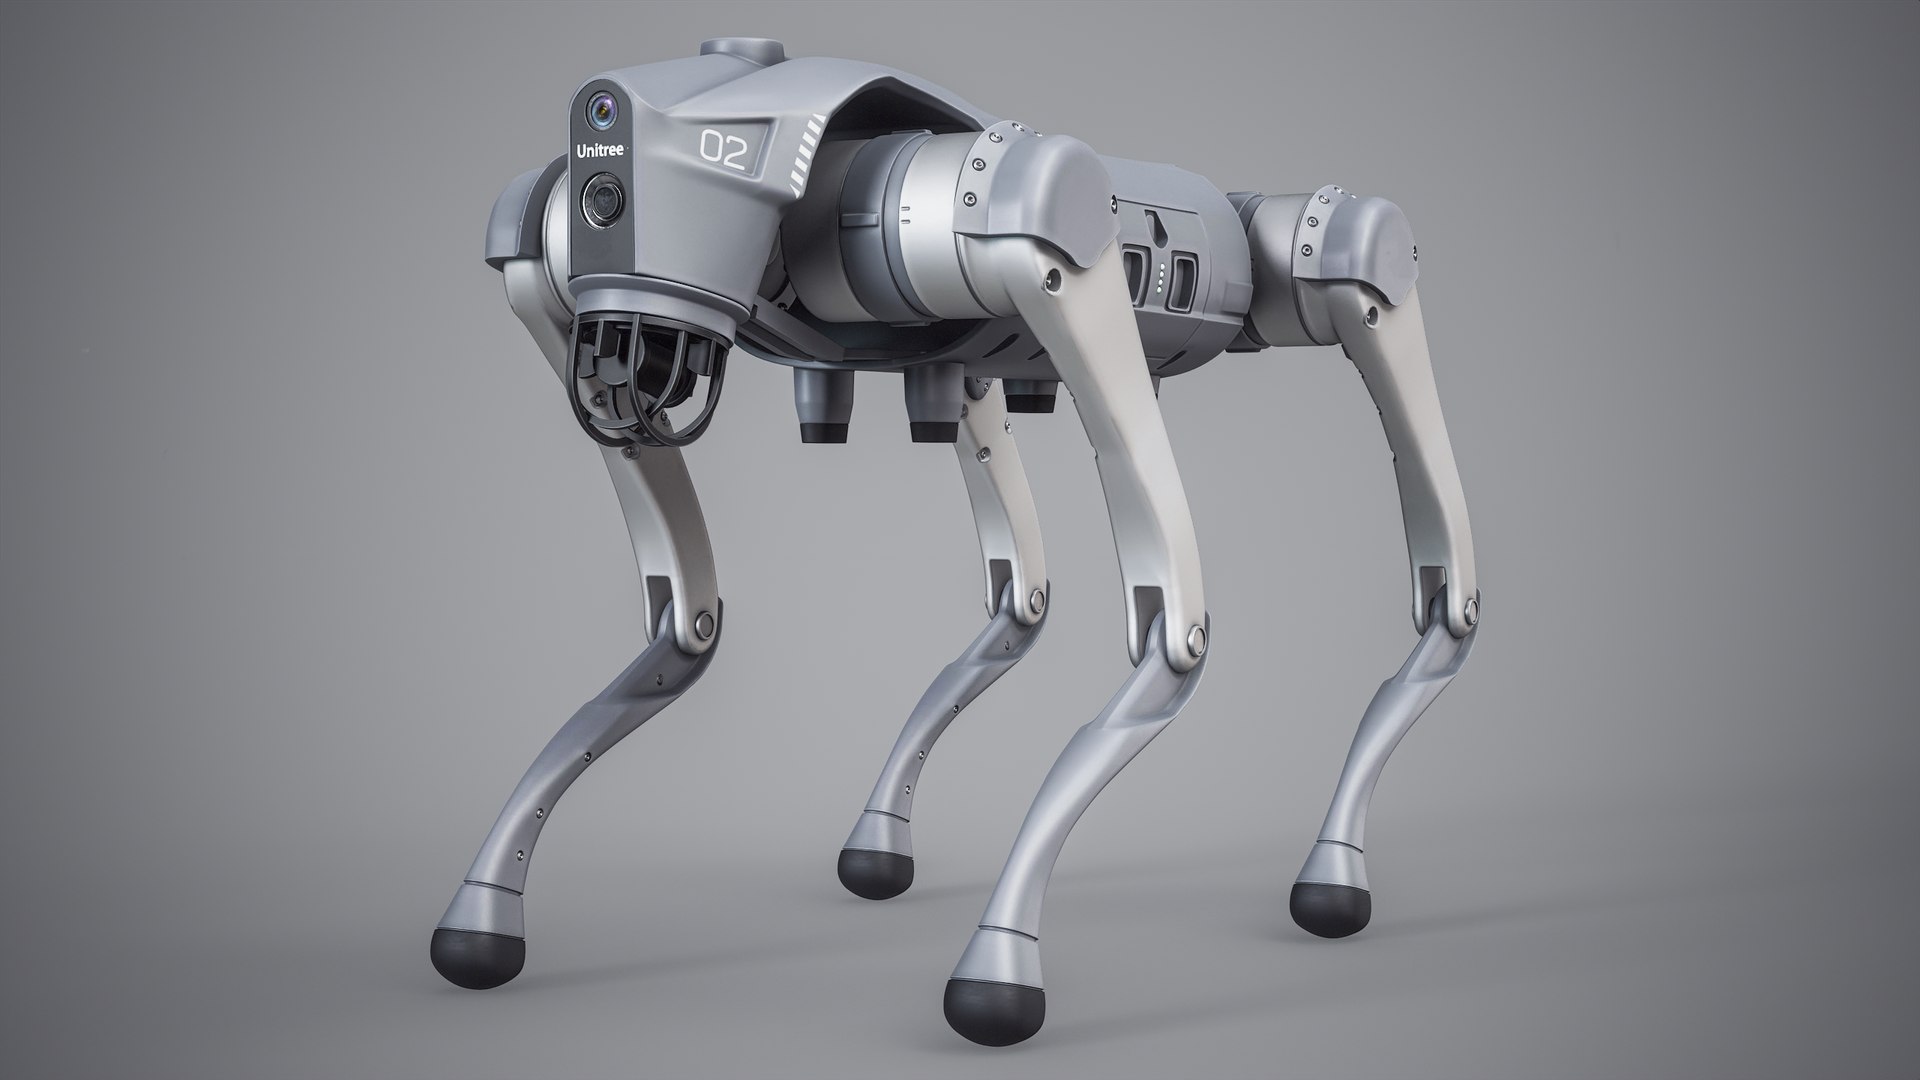
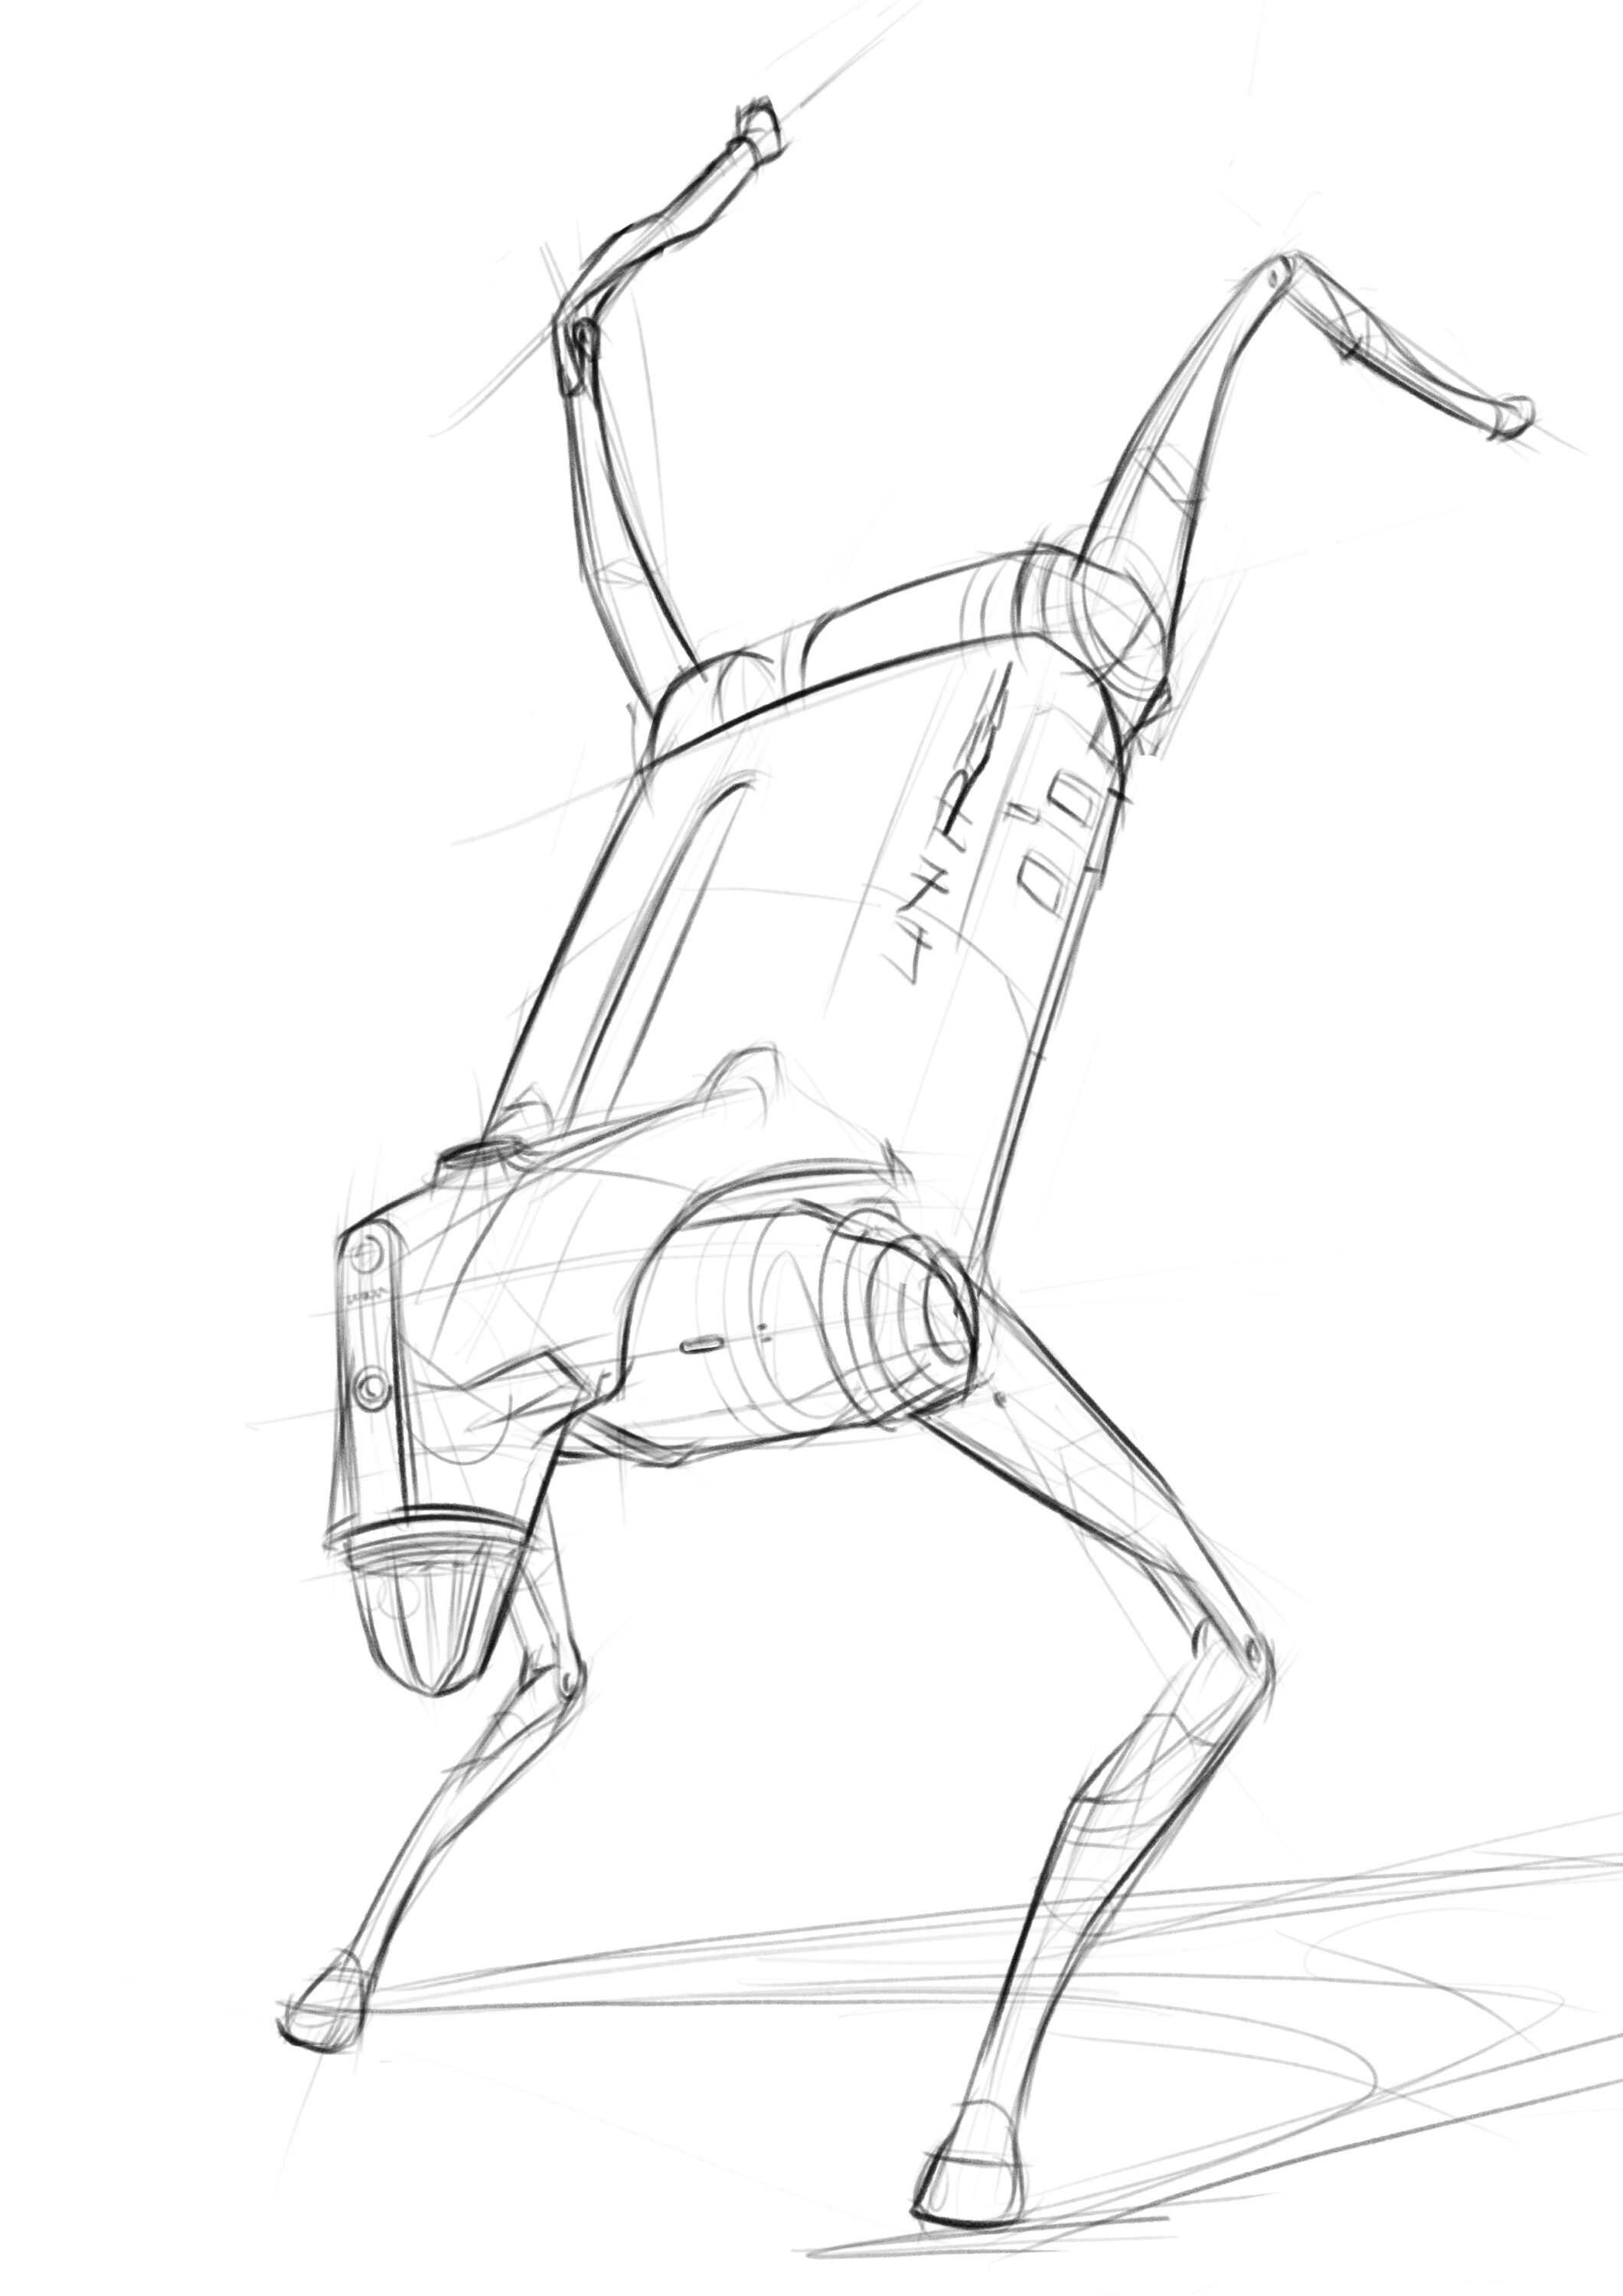
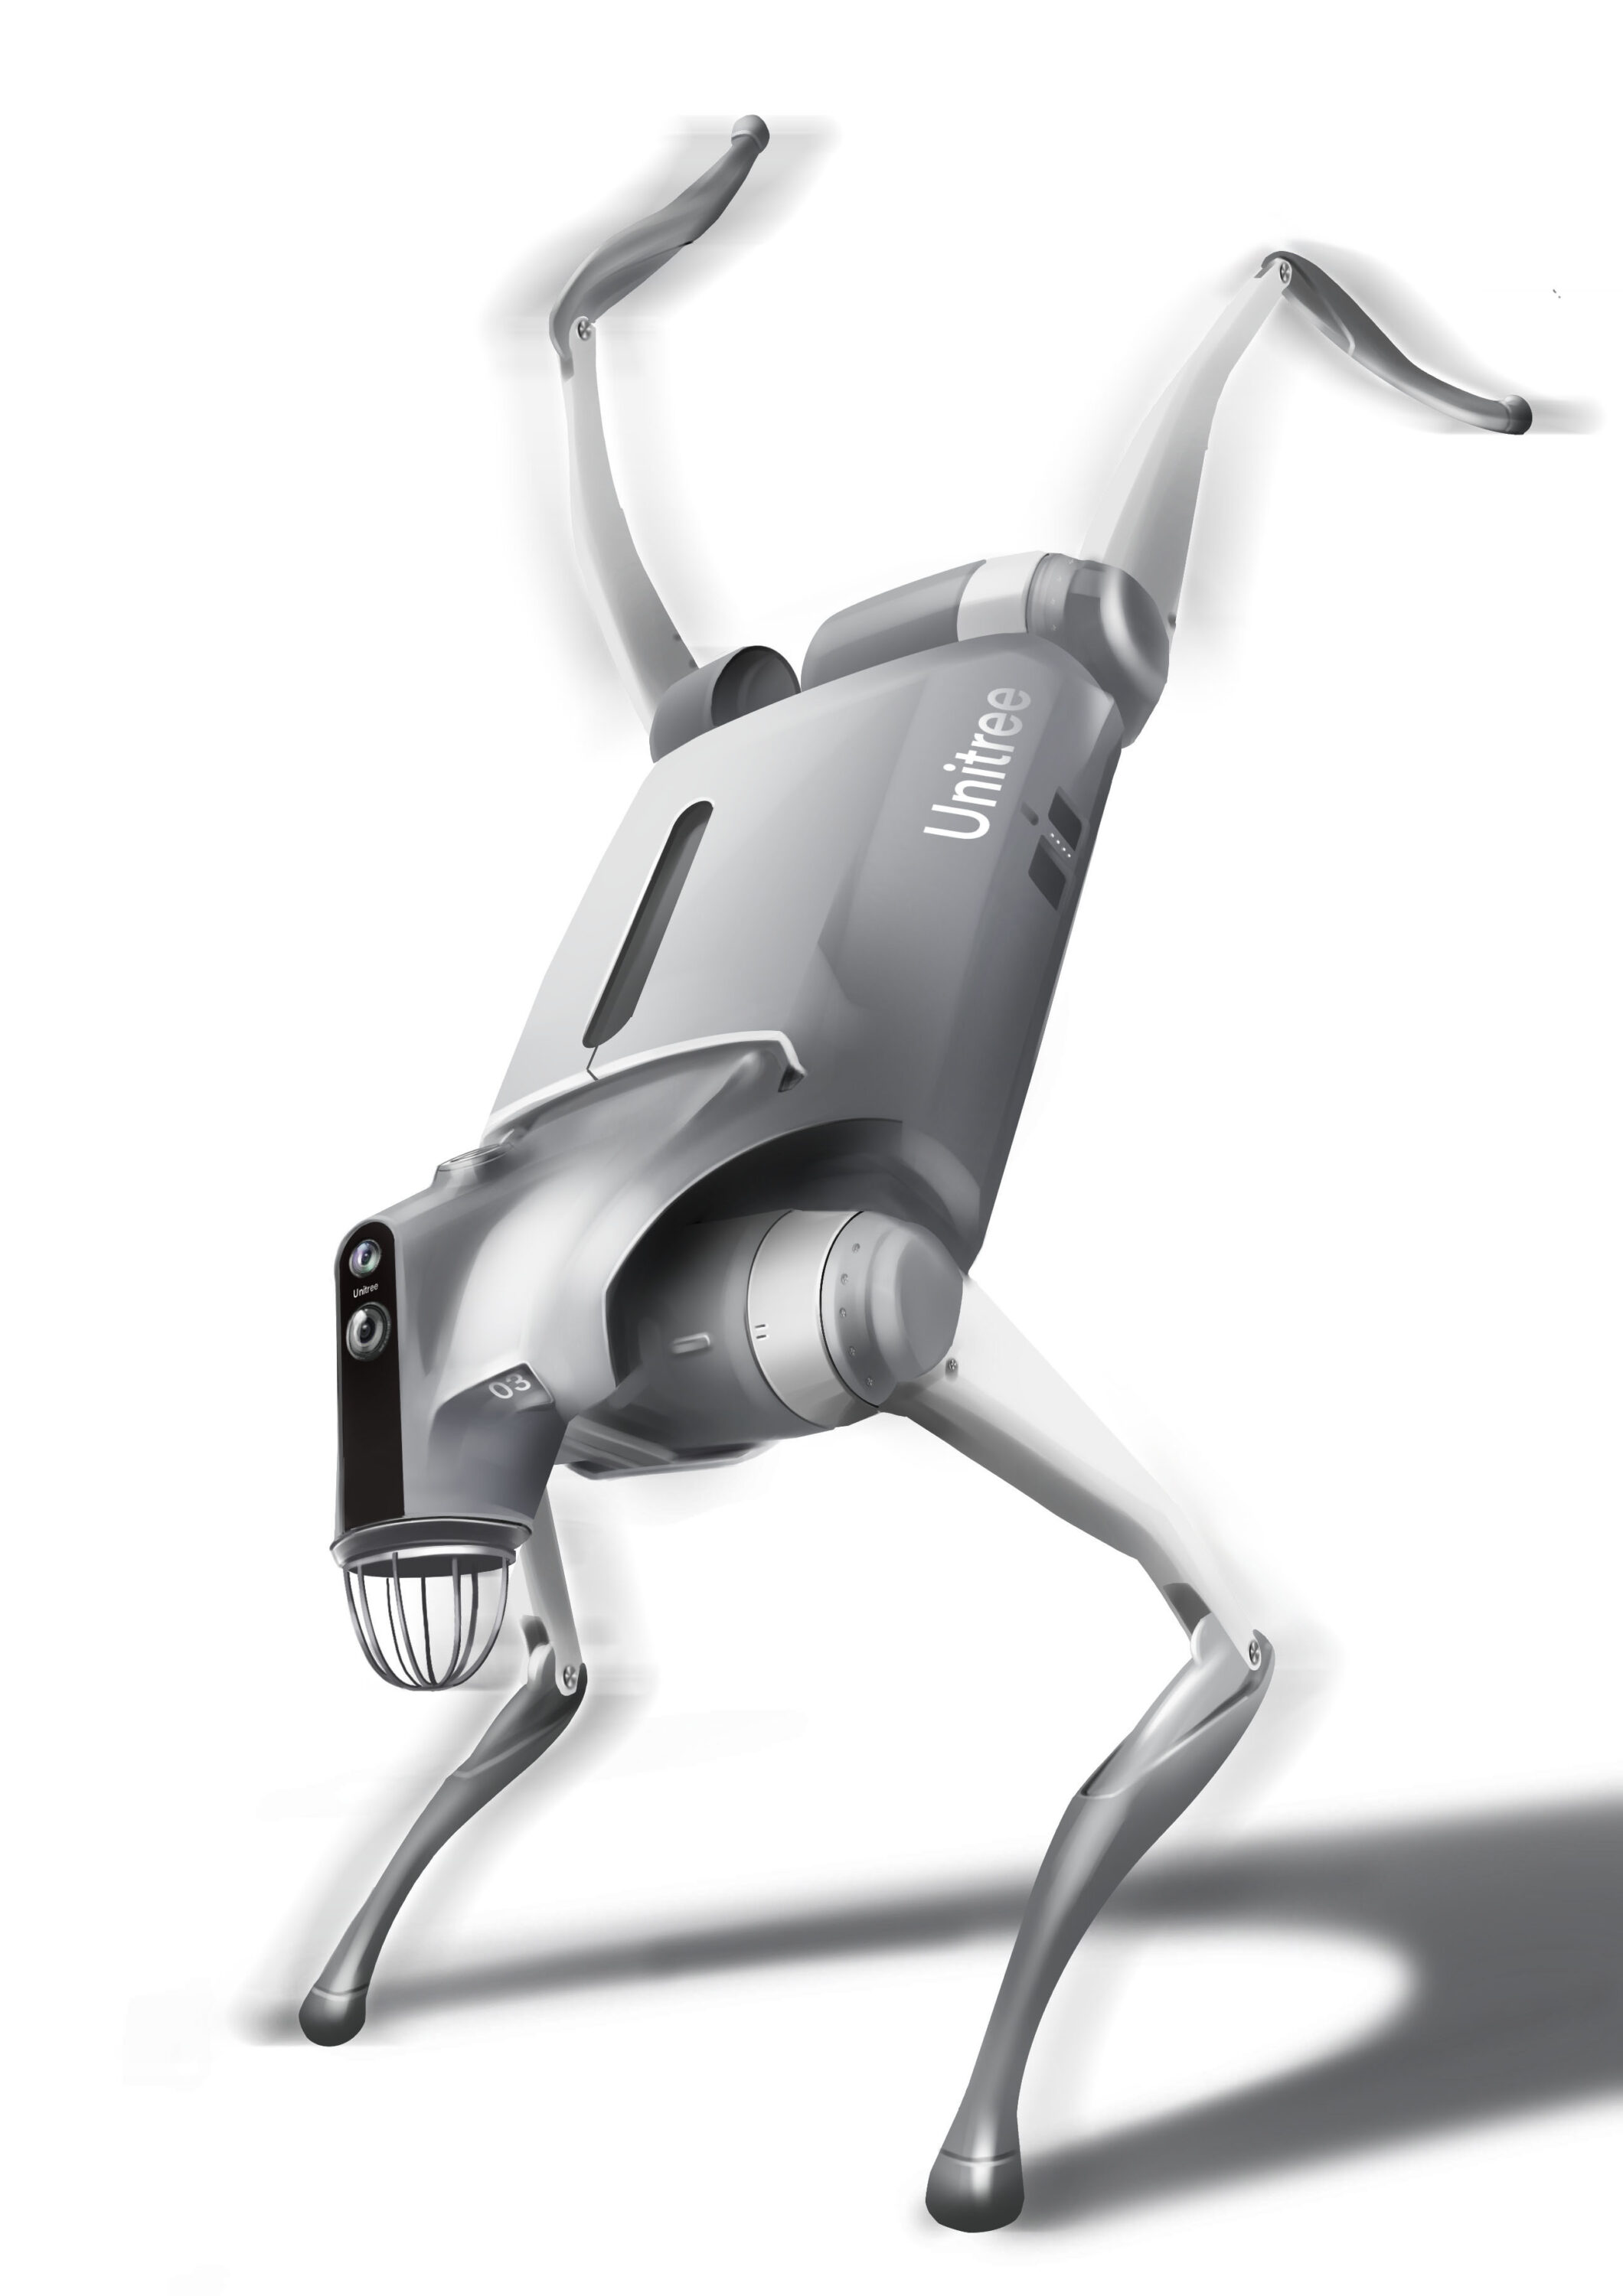
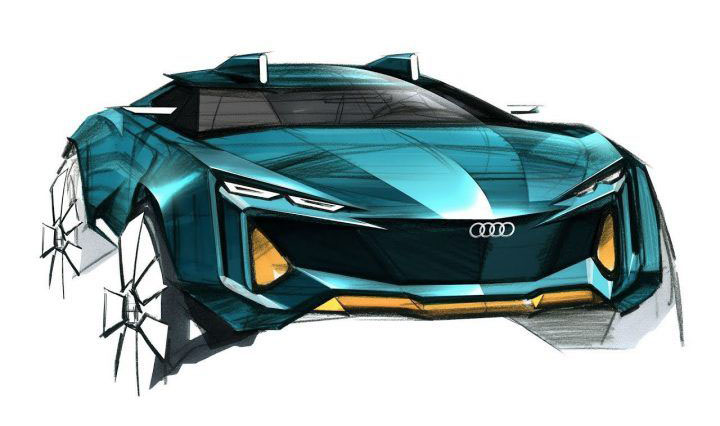
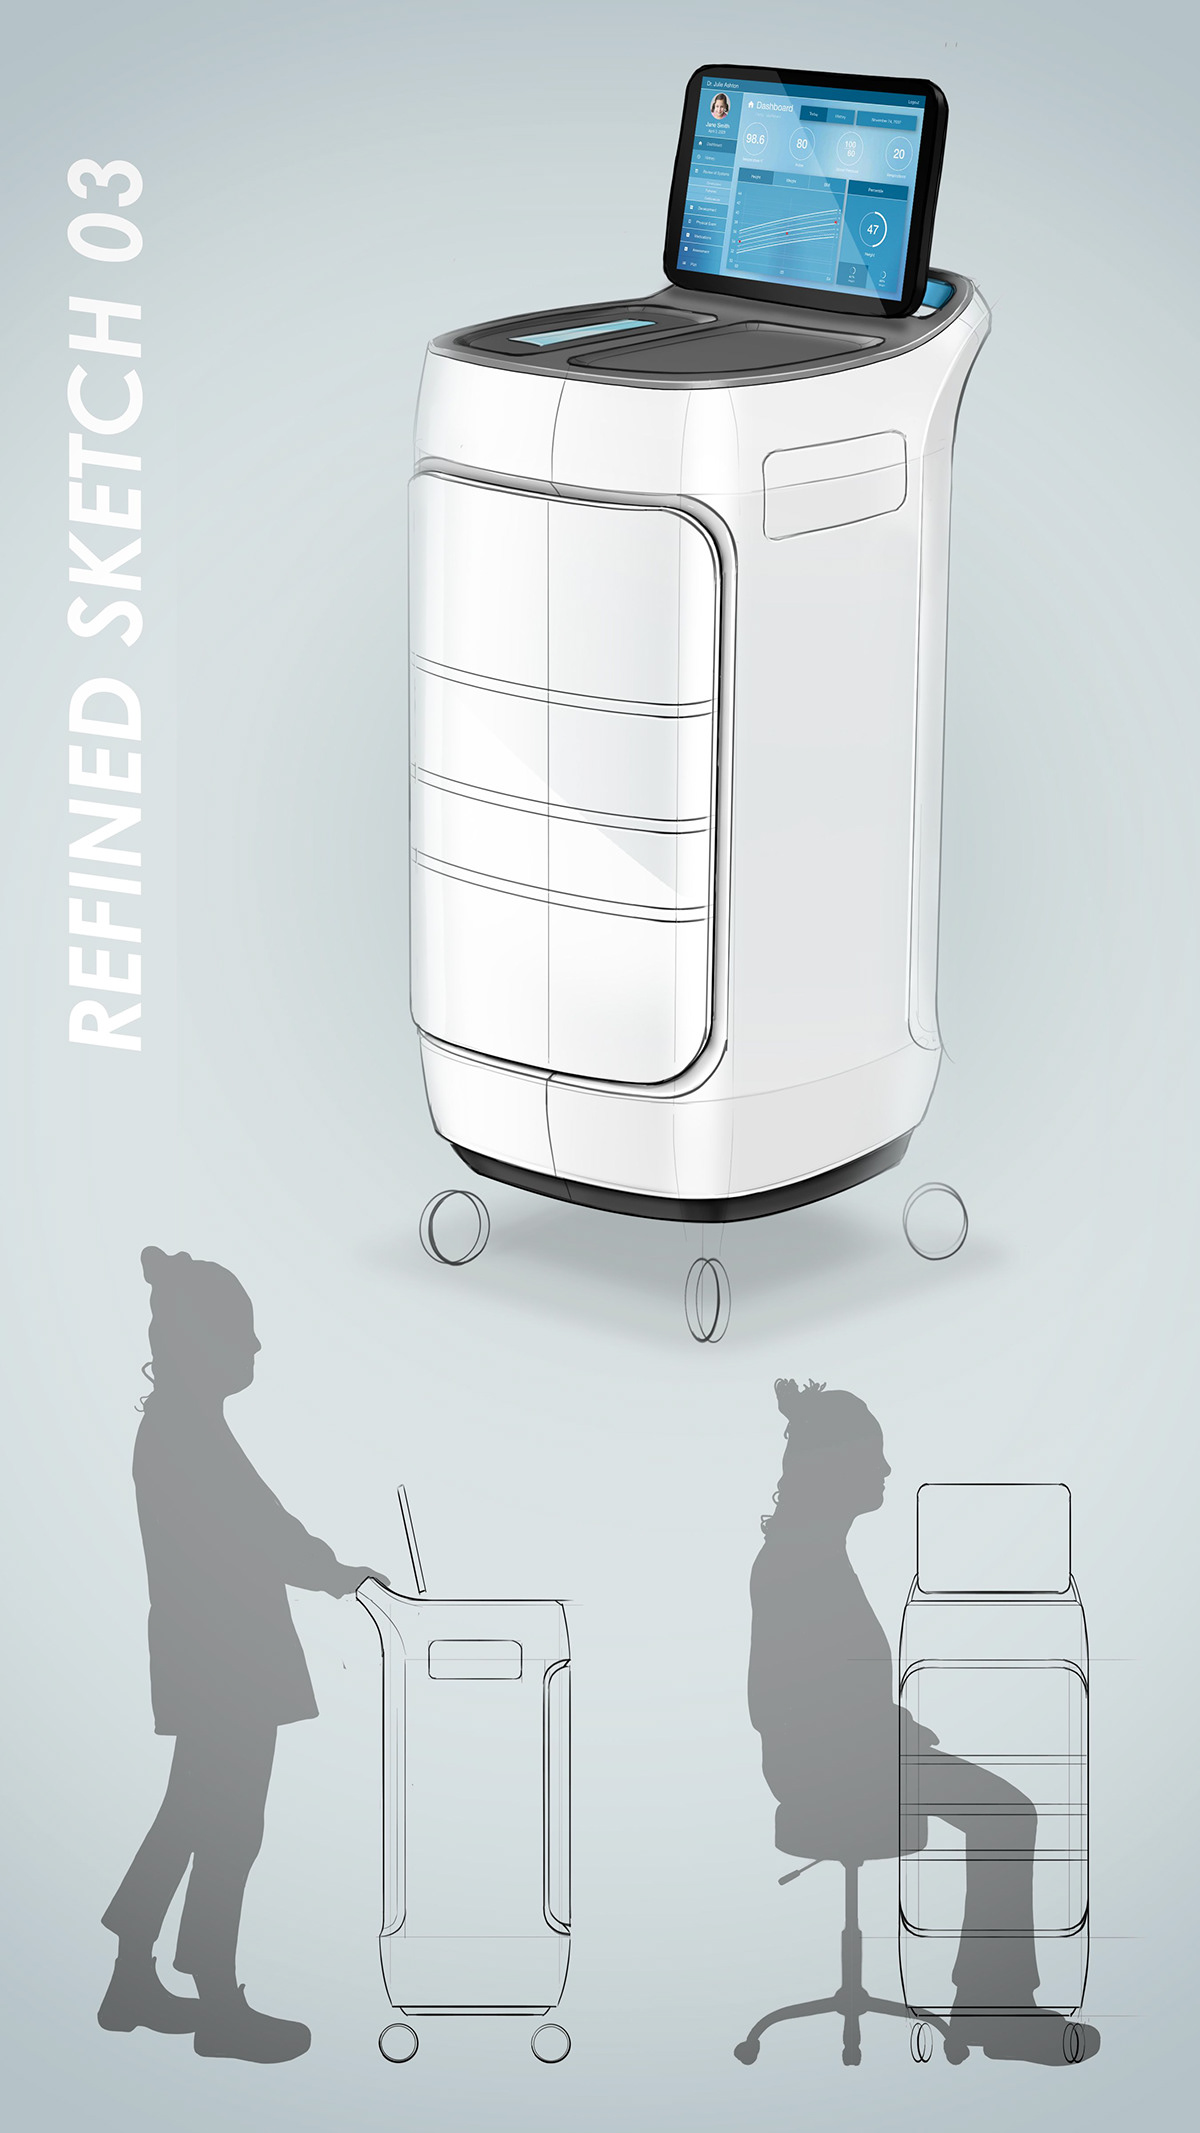
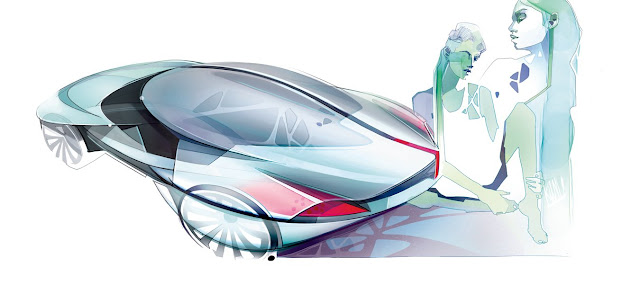
Step 3- Perspective Rendering from A Different Angle.
Objective:
Prepare for Independent Rendering Phase
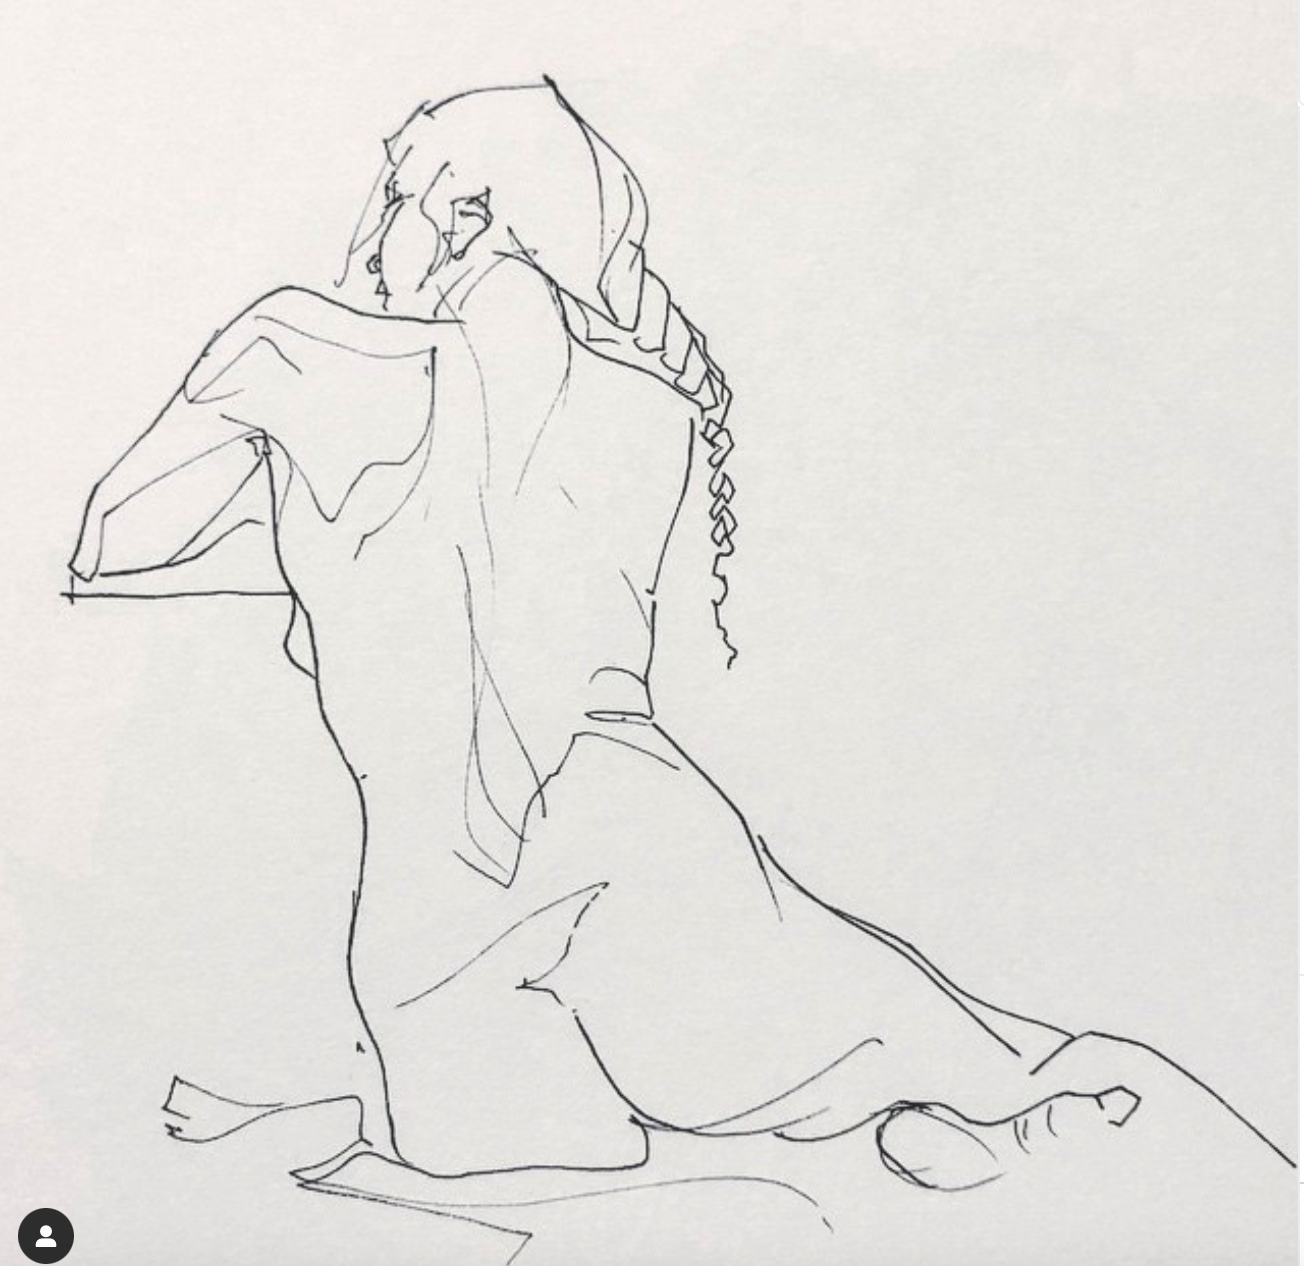
Practice Sketching along with Rendering. Draw from A Different Perspective Than Your Reference Image.
1.Use the reference image for lighting and value. Sketch and render on your own from a different angle or with a different motion (such as opening or closing a product) and prepare an independent rendering.
Train Your Eyes to Appreciate the Sophistication of Surface Transitions and the Principles of Aesthetics, including Gestalt, Visual Continuity, Contrast, and Reflection, etc.
1. Train your eyes to see details. Master copying them to understand each deliberate design choice.
* Students mastercopy work by DAAP ID Class of 2025, Jason Zheng.
Pathway to Progress
Progressively enhance your skills: start with Mastercopy Rendering, Independent Rendering, advance through Sketching, and master Ideation Sketching.
Mastercopy Rendering
Observation, study form and graphic expression.
Challenge level: *
Independent Rendering
Understanding of form and graphic expression and apply independently.
Challenge level: **
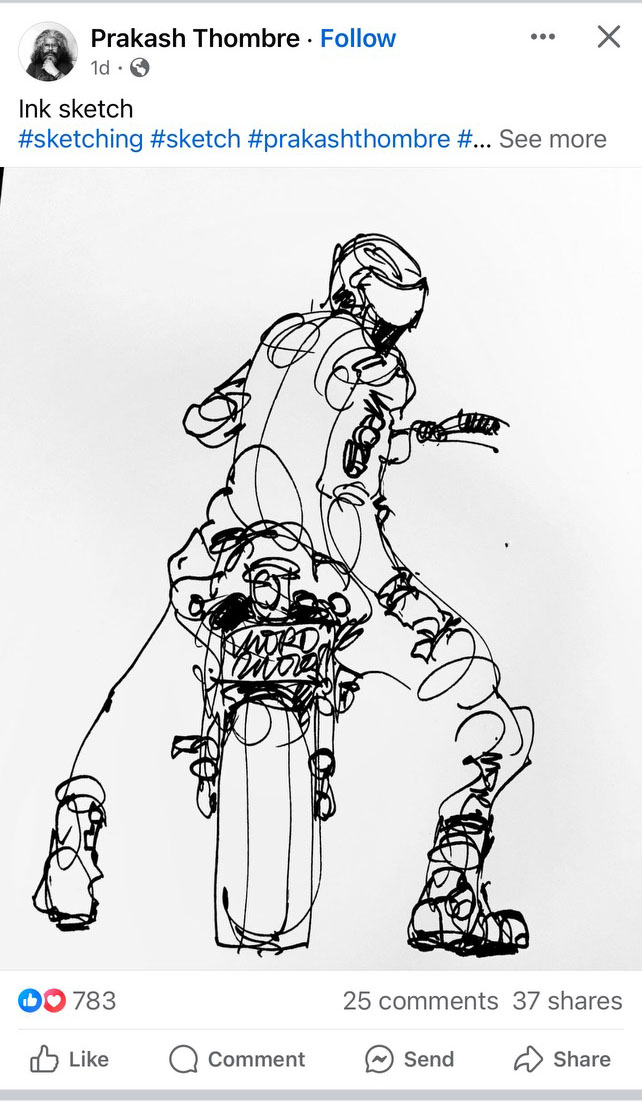
Sketching
Study form and capture details by building models on paper with good line quality.
Challenge level: ***
Ideation Sketching
Each stroke is a curation of micro decisions, do this by making choices on paper.
Challenge level: ******
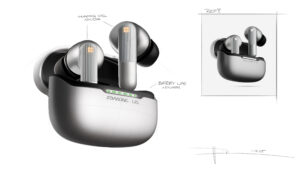
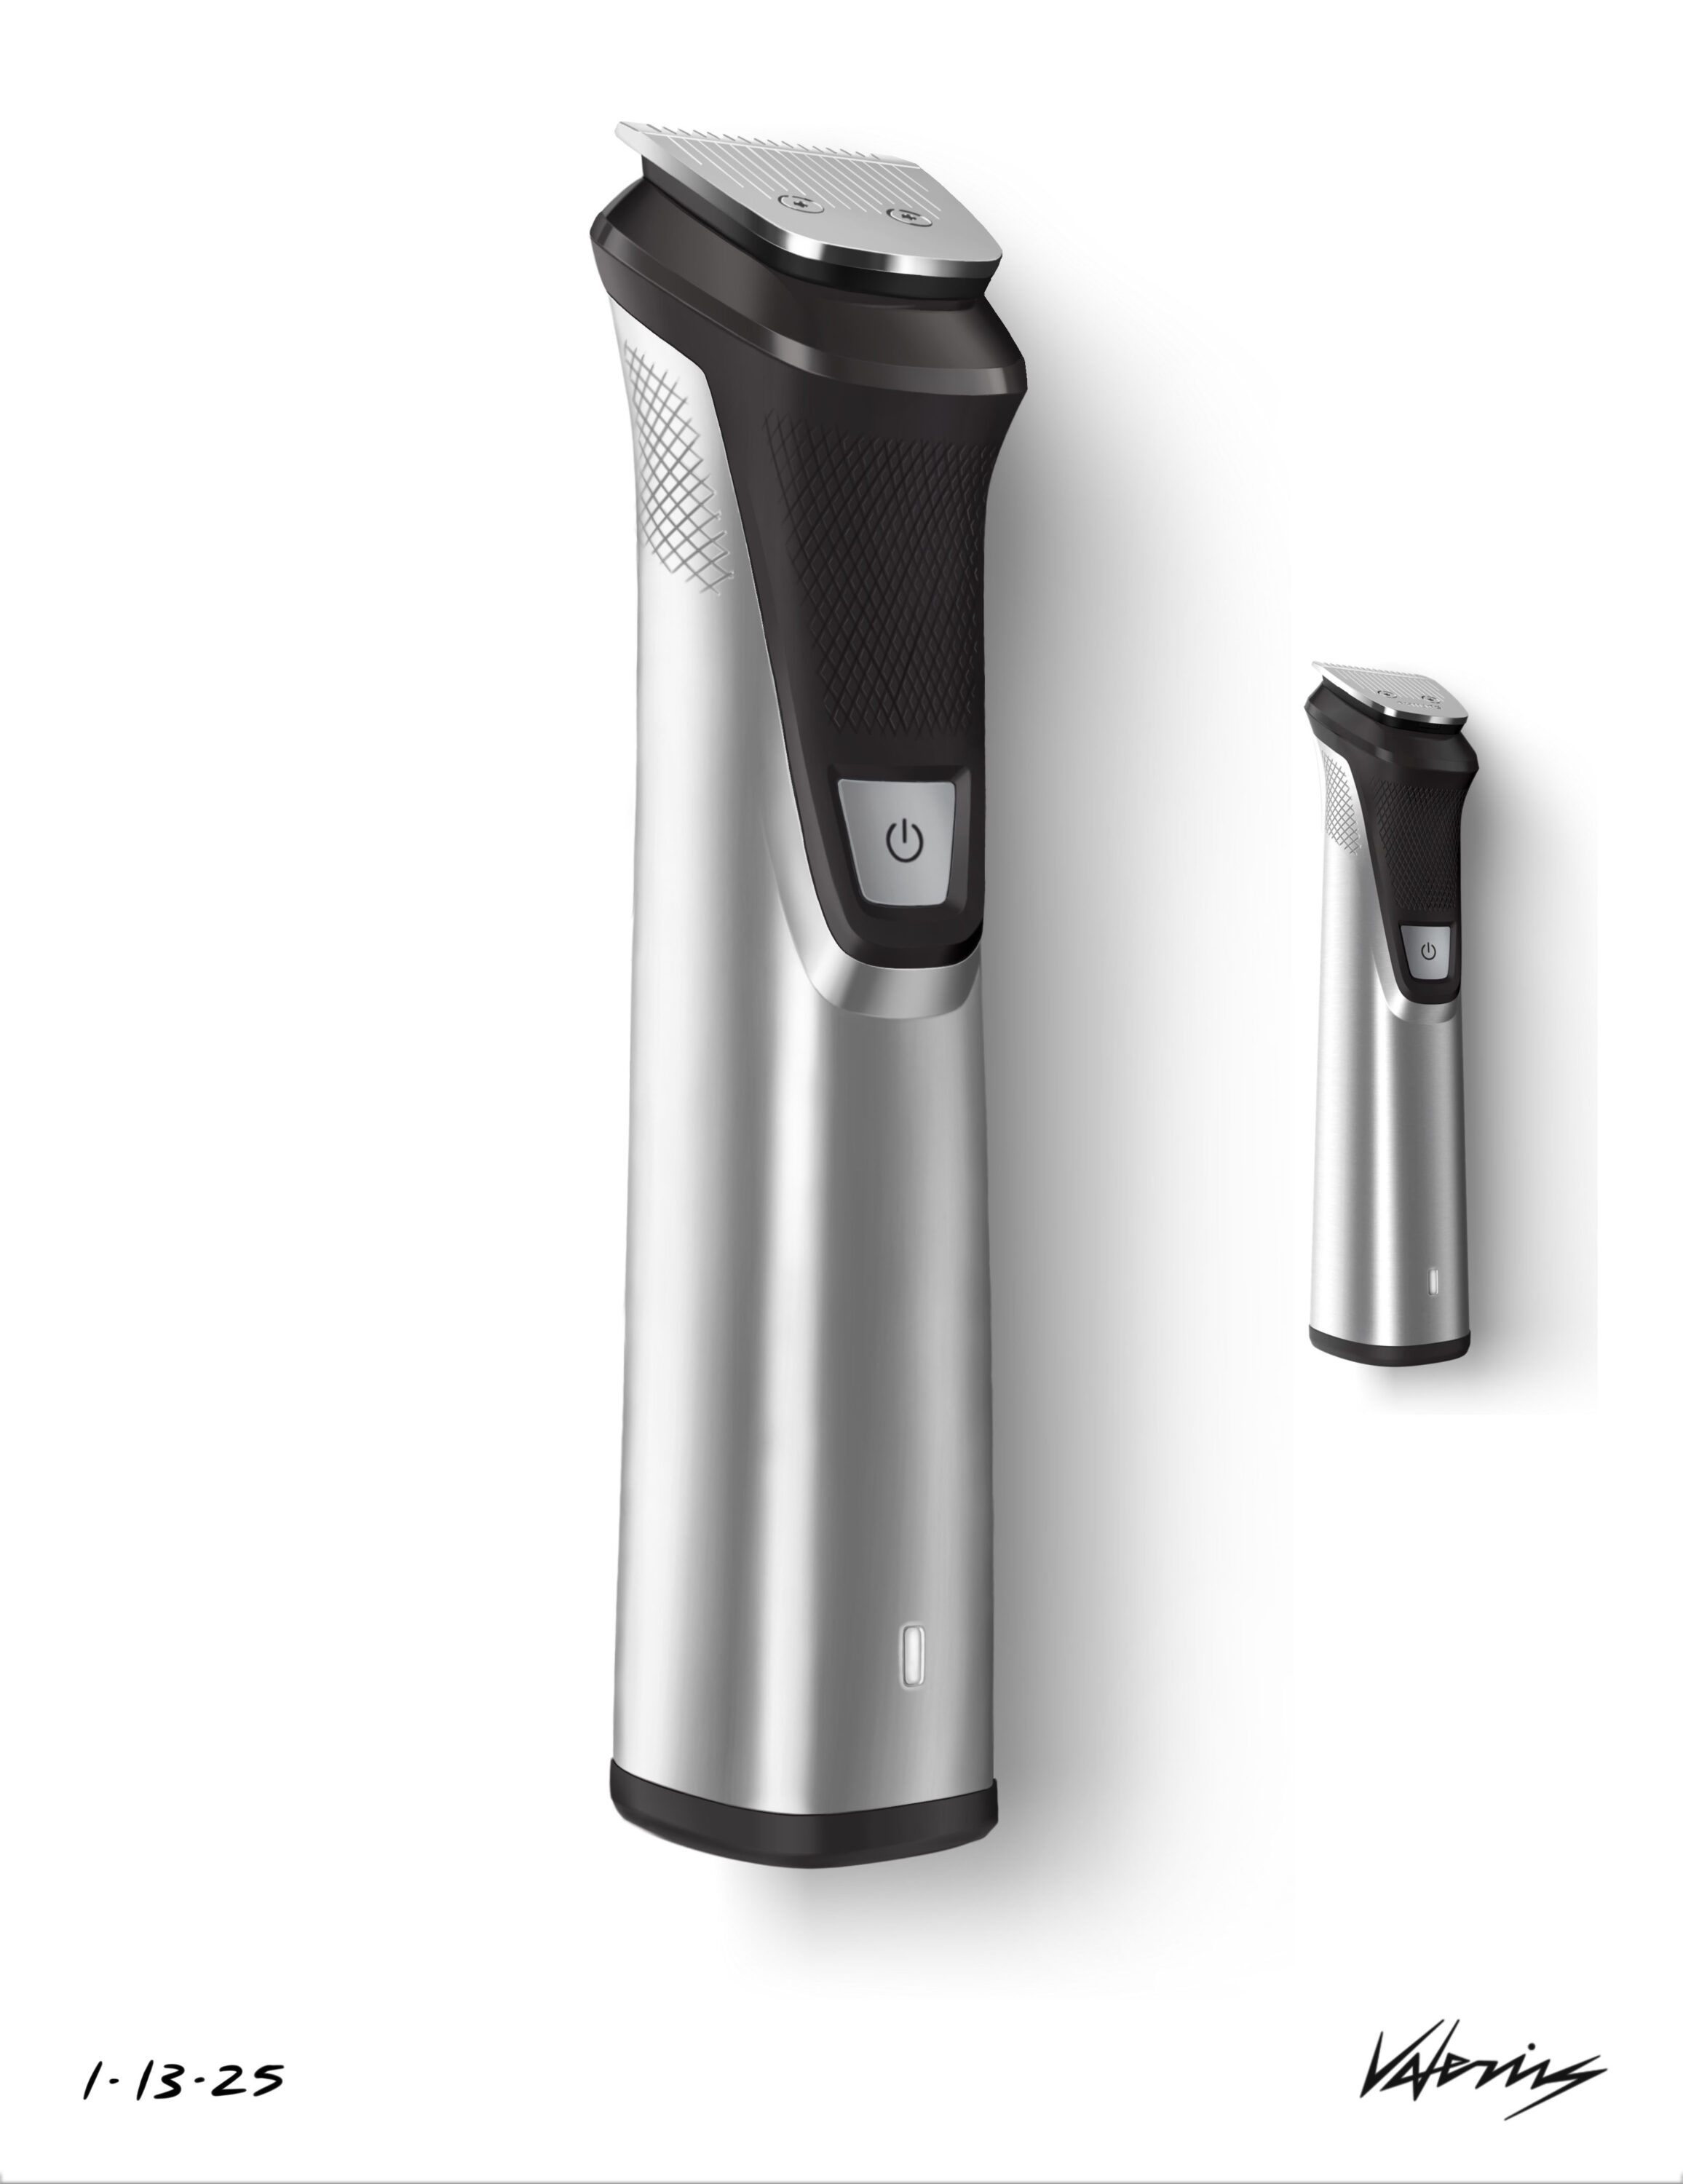
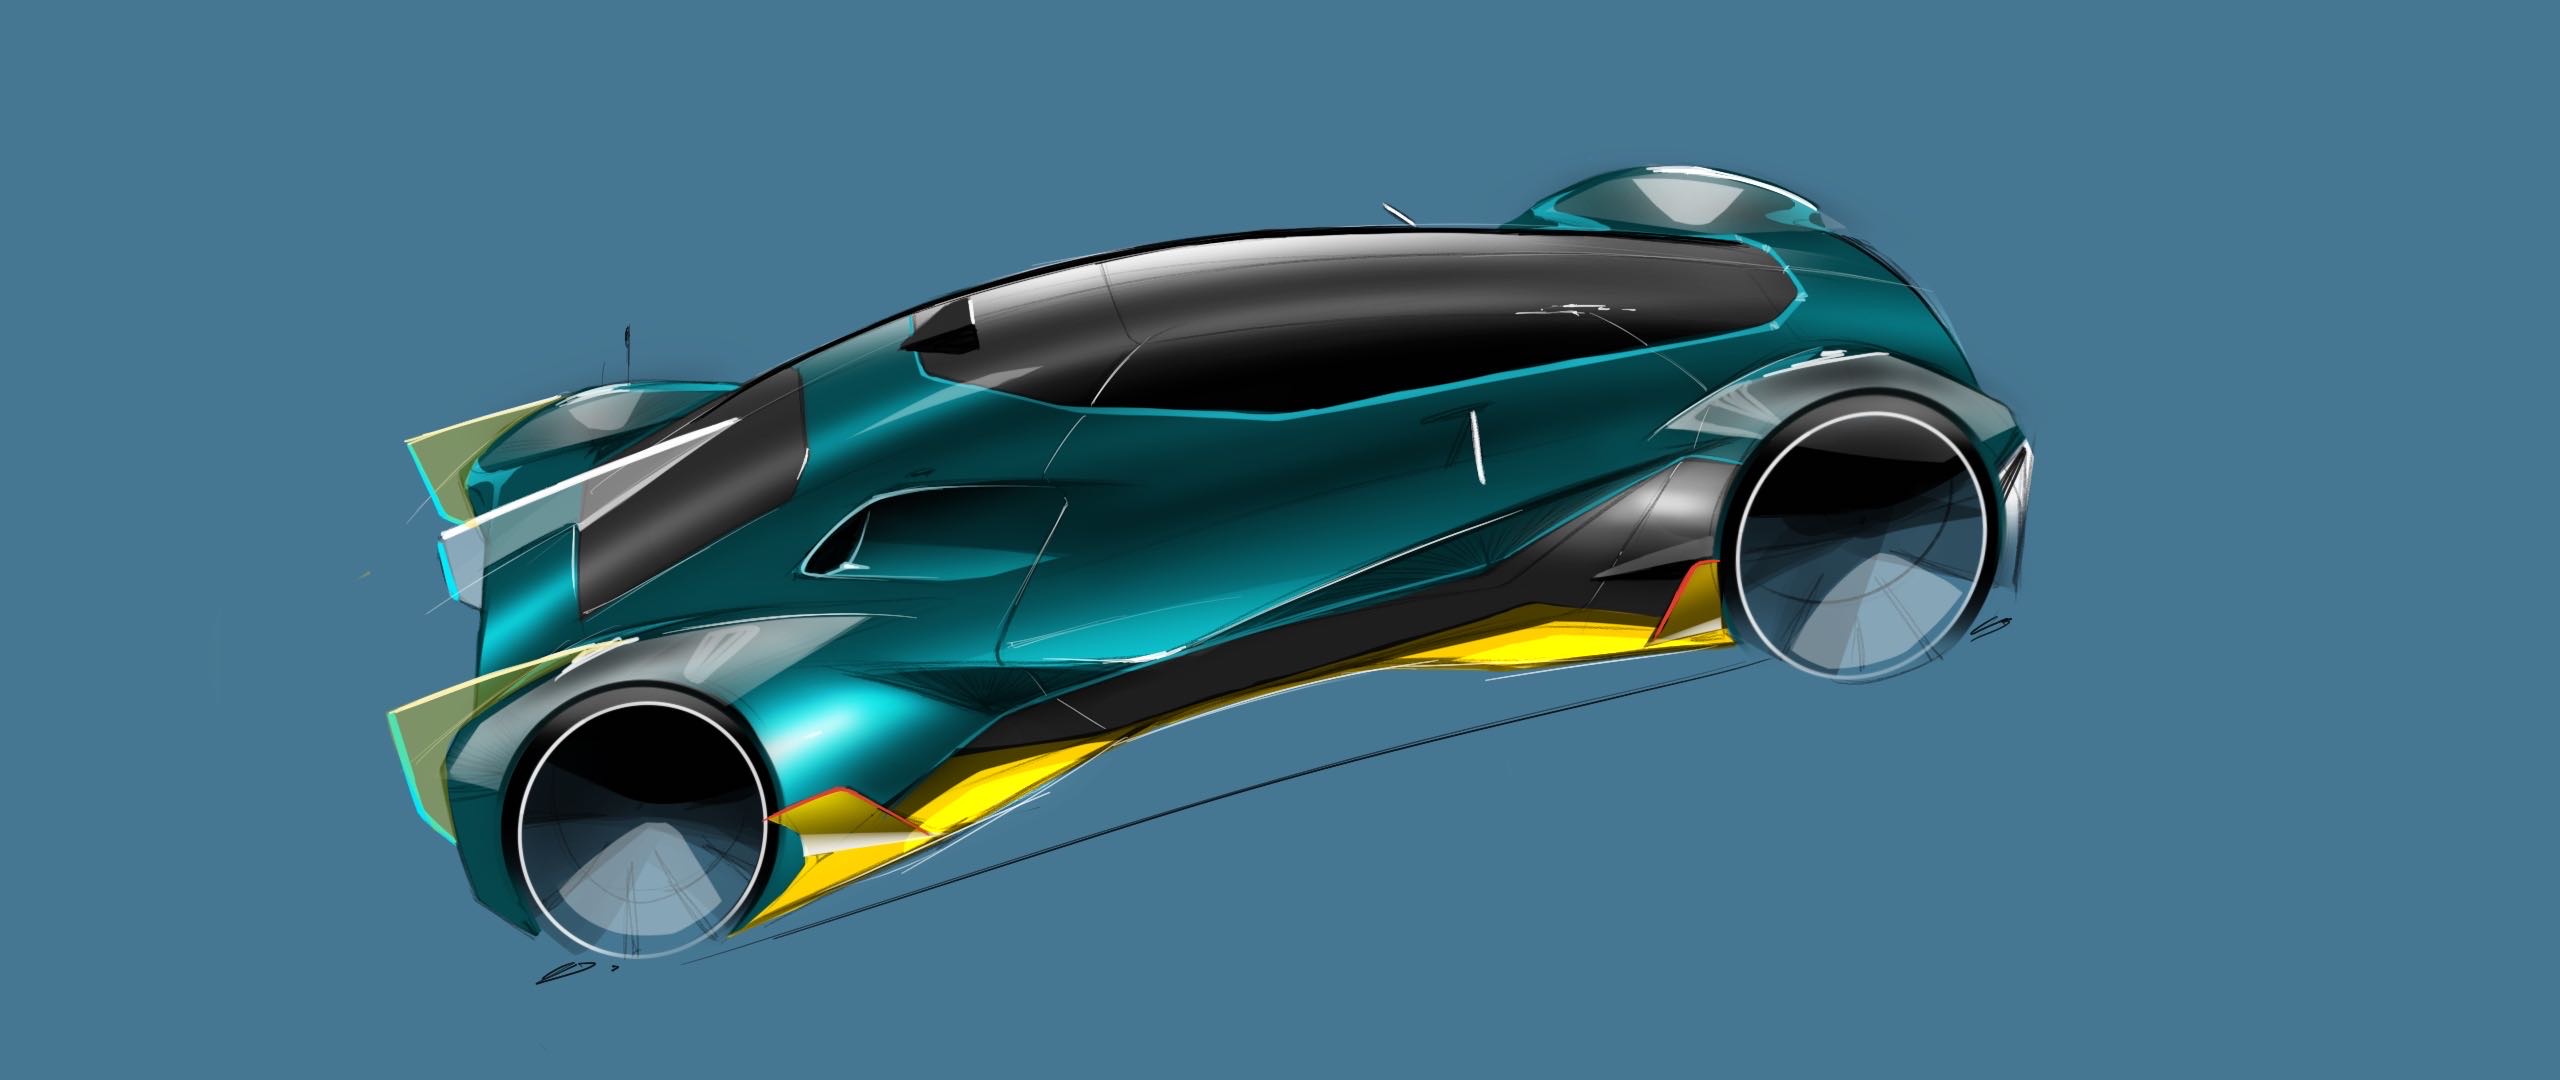
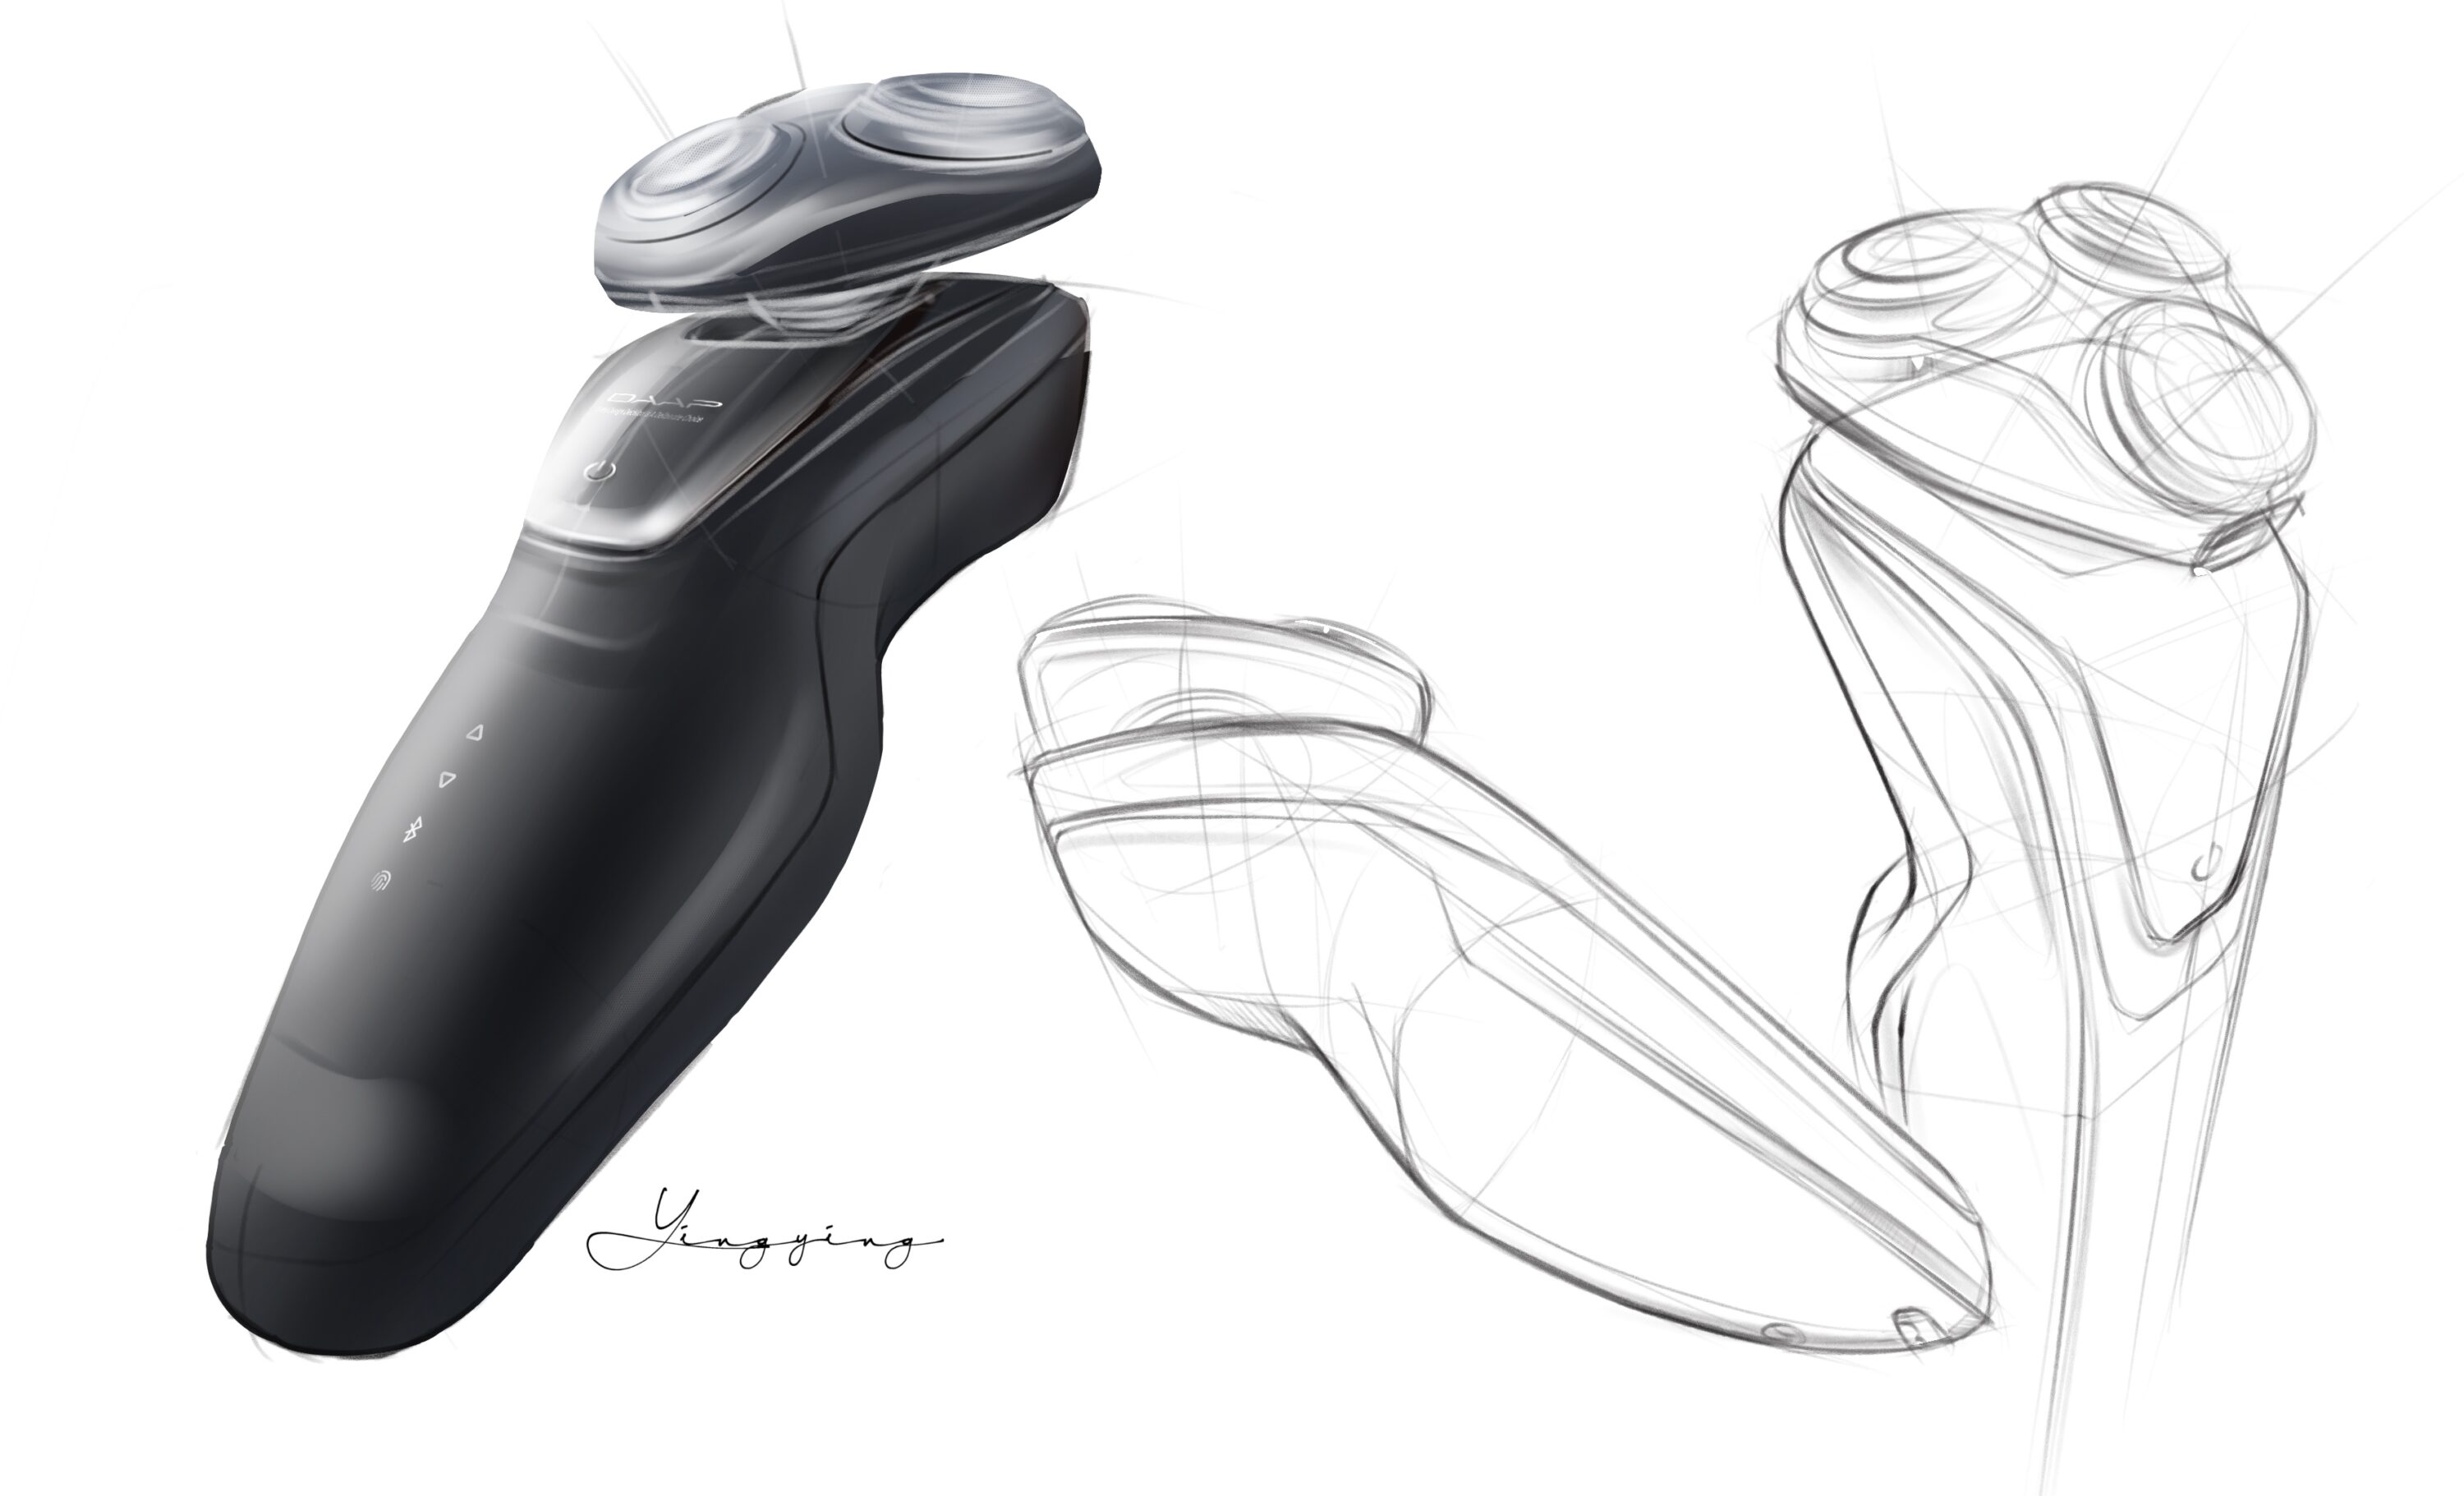
Step 5- Independent Rendering.
Objective:
Building Models on Paper, and Soliciting Feedback for Quick Iterations.
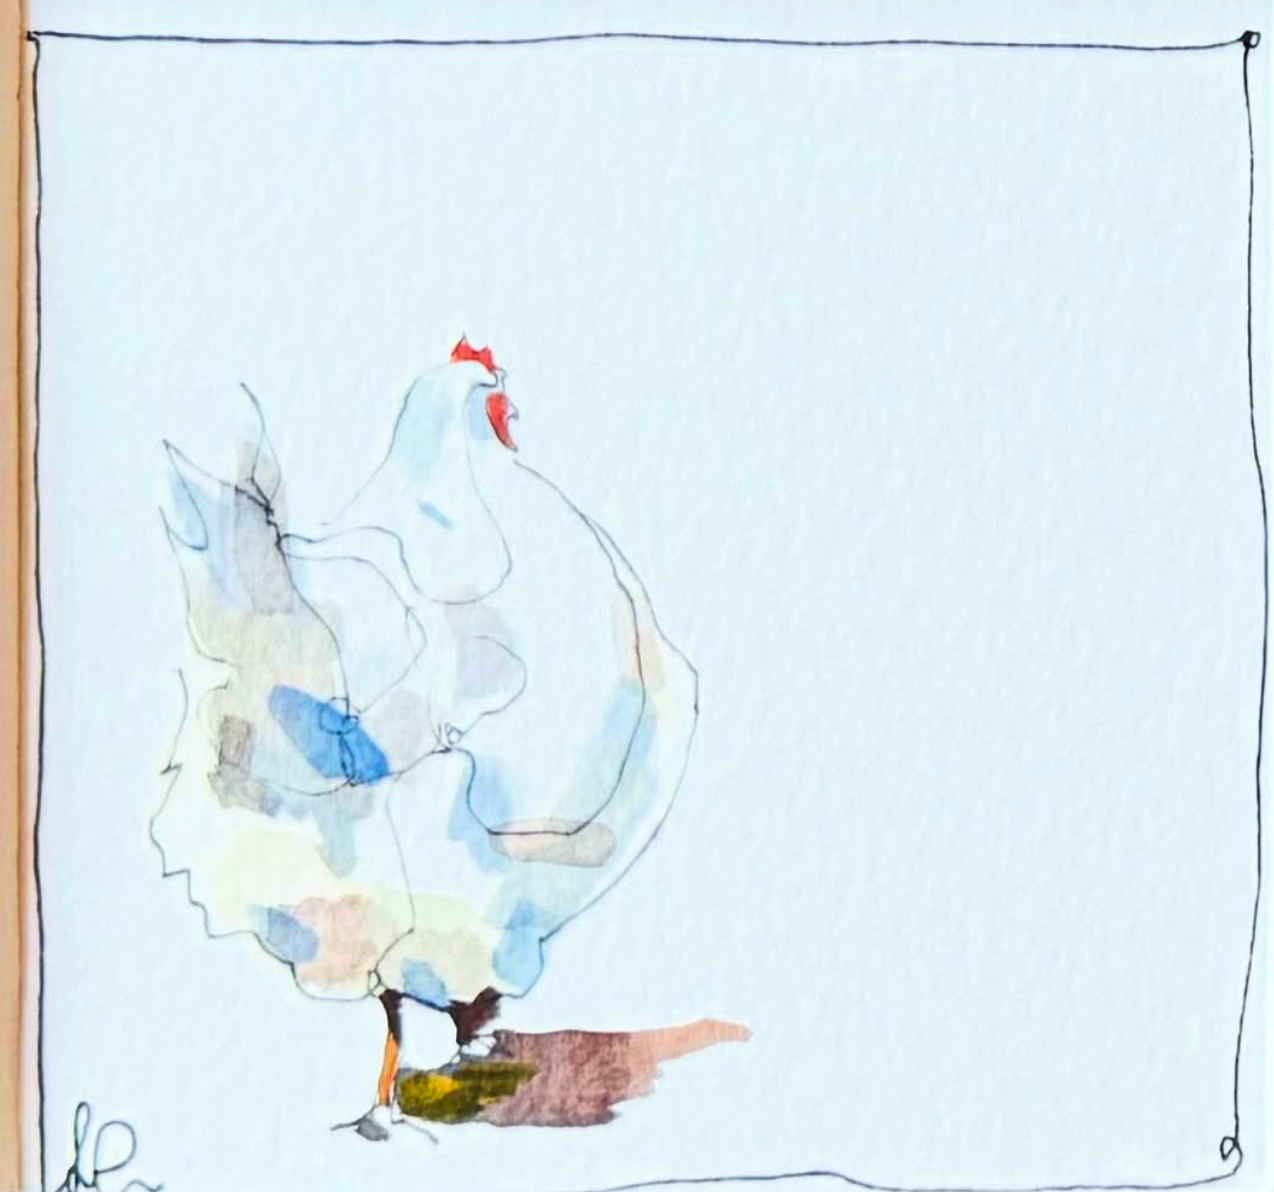
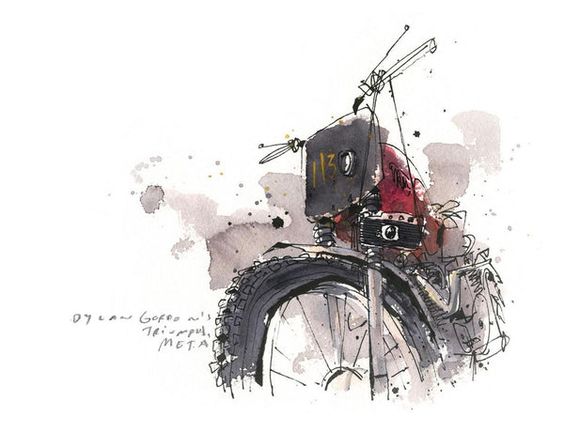
1. Find the reference images for lighting, material, texture and reflection.
2. Play with differnce choices during rendering and train your eyes to see the difference.
3. Make critical design decision during the process.
* Click here for step-by-step timelapse demo of the razor.
Step 6- Apply Your Skills to Refine Your CAD Models.
Objective:
Soliciting Feedback for Quick and More Iterations.
1. Refine your CAD for more high-fidelity iterations. Design is an exhaustive process that ensures you help your clients make informed decisions. (hi-fi fleshed-out design concepts)
2.Plan in detail for CAD.
Human-AI Collaboration
Use Visual Language to Communicate with Machine to Improve the Predictability.
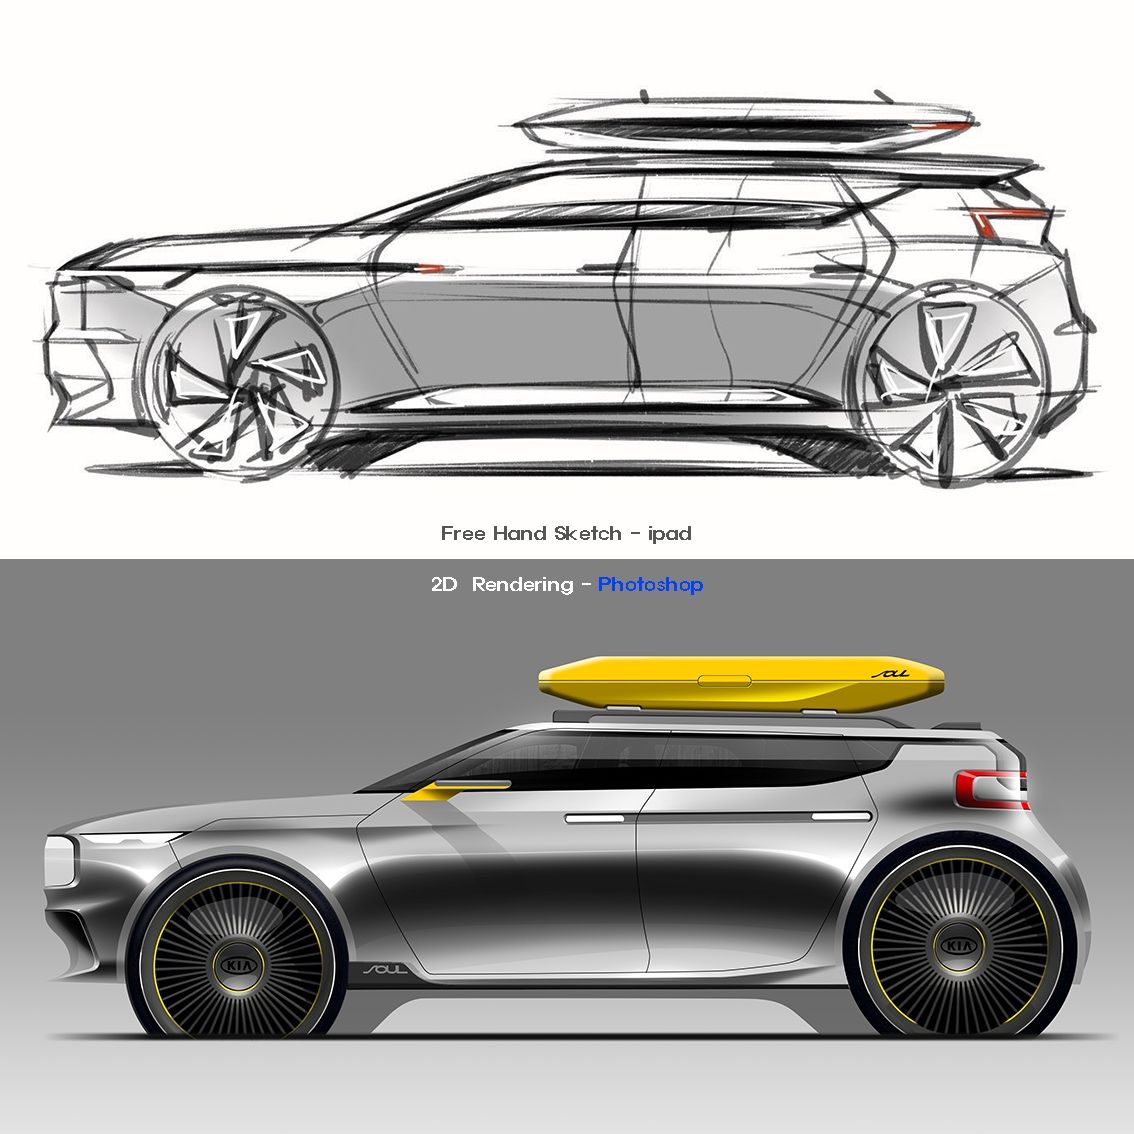
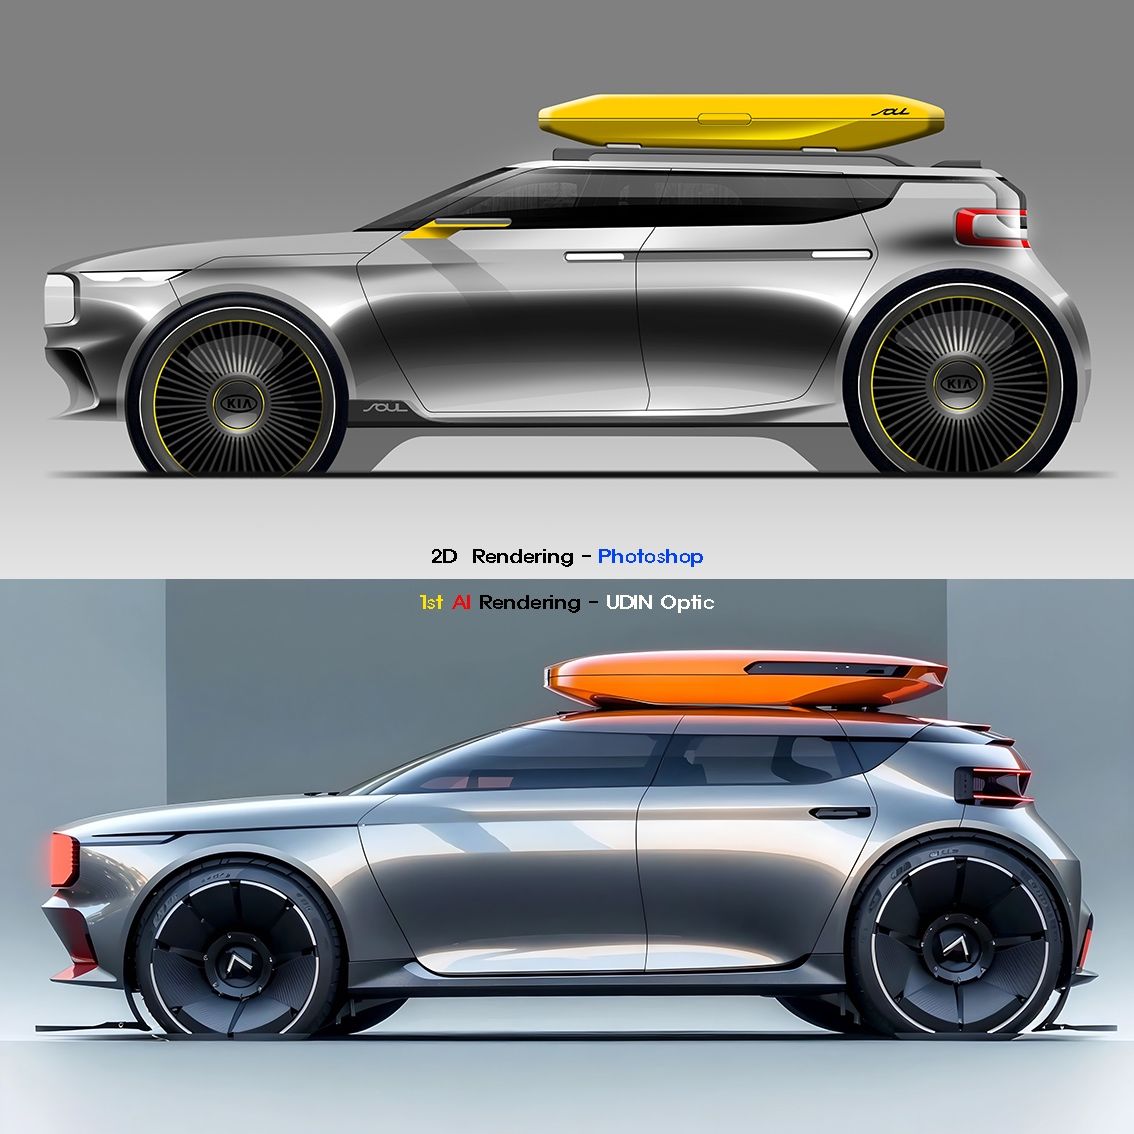
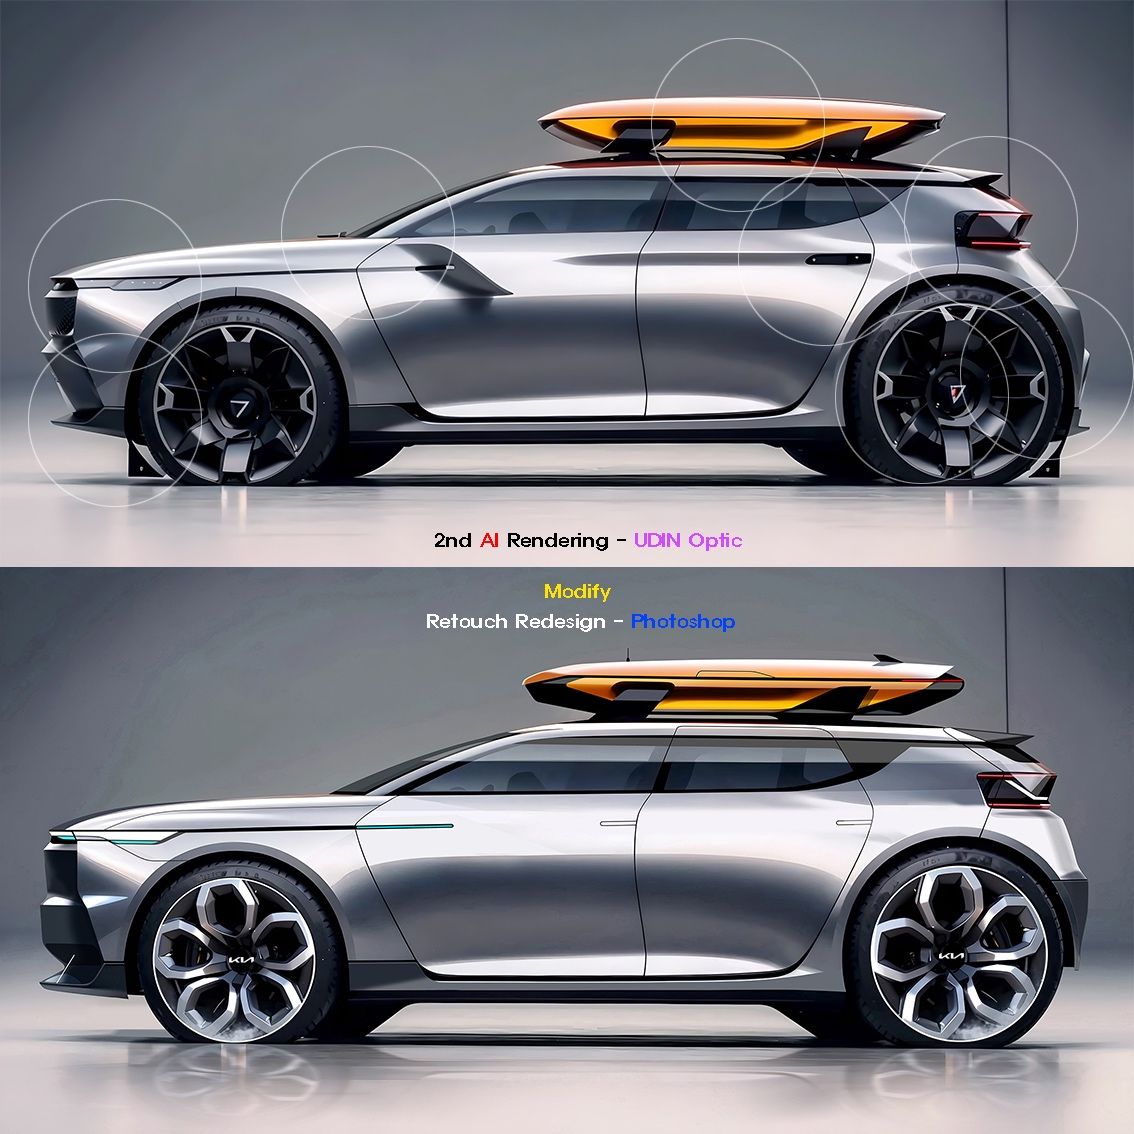
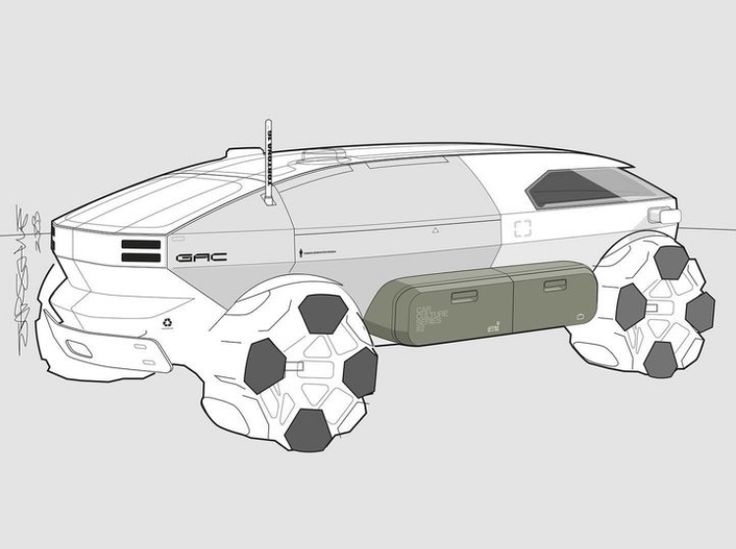
Step 7- Develop Strong Sketching Skills in the Age of AI.
Objective:
AI-assisted Rendering for Quick and More Iterations.
1. Develop strong sketching skills for better predictability during human-AI interaction.
2. Use visual language to communicate with the machine, improving work efficiency and freeing up more time to scrutinize every possibility.
* Basic Steps_Sketching + Vizcom + Post AI-Production (PS or Procreate Refinement). Click here for more AI-assisted rendering tips.
Design iteration should progress from Type B (exploratory visualization) to Type C (refined high fidelity design concepts) throughout the down-selection phase, soliciting feedback at each stage for quick iterations.
* Click here detailed explanation of type A, B, C.
* Capstone project from Jack Thrun, DAAP ID, Class of 2019, Click here for Jack Thrun’s project portfolio, and scroll all the way down for the entire PDF process book.
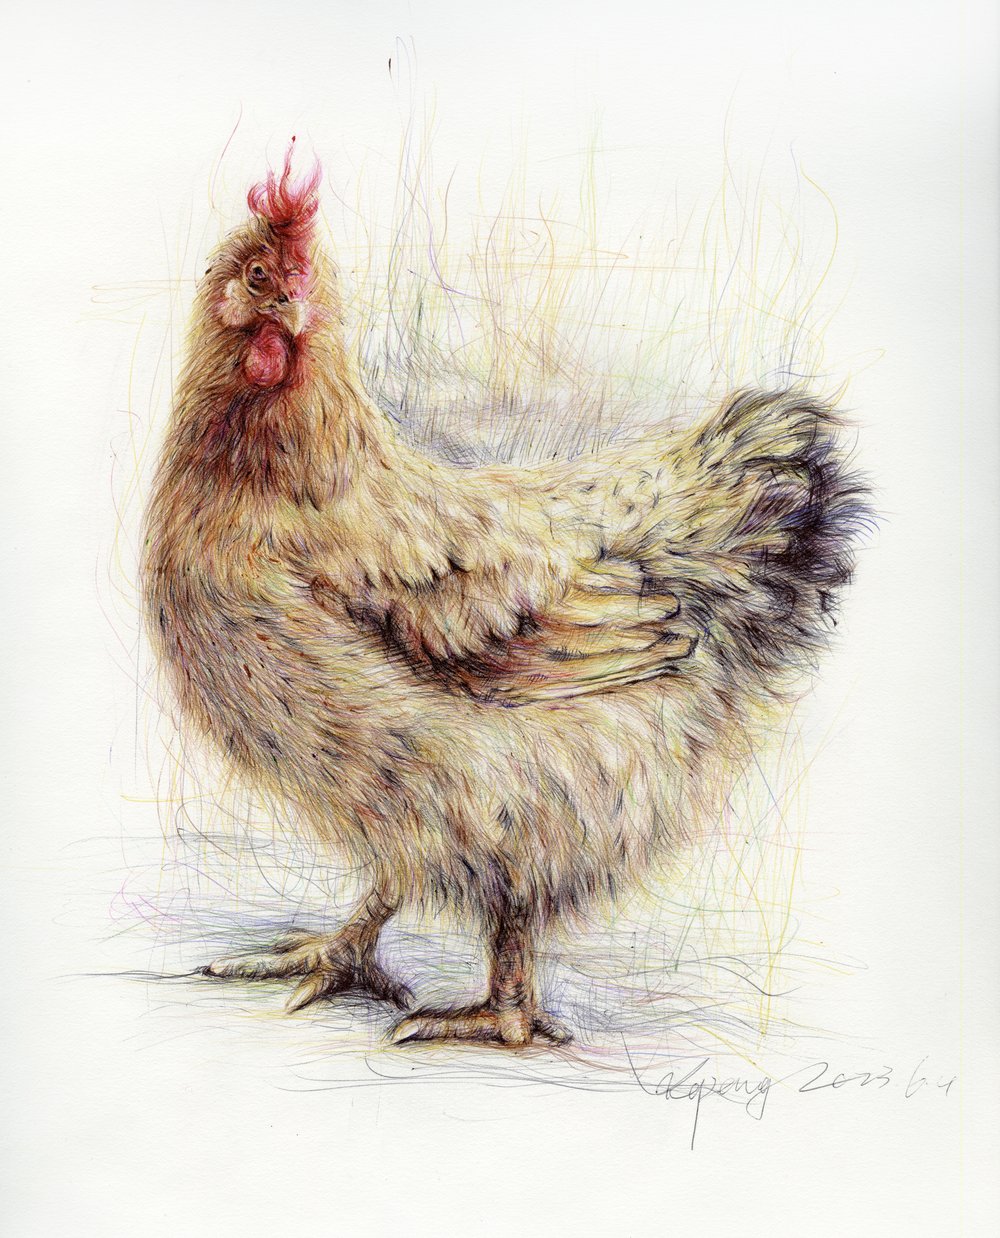
Hold on to the artistic skills you are developing, and go above and beyond to send a unique message to the world. Resonate with your target audience when appropriate.
1. Nothing is a waste of time. Psychology, art, literature, engineering, business, manufacturing, and process, all intersect in the interdisciplinary field of design.
* Students’ work from DAAP ID 2025, Yepeng Ma, Cecelia Favorito. It’s commendable to see students voluntarily creating art based on their interests outside of structured class time. This shows admirable grit and a strong sense of self-discipline and determination.
2. Do not simplify the sophistication of forms while tracing; this is also an opportunity to correct the perspective.
3. Rendering is for better communication; Don’t do it if it serves the opposite purpose. Always try to enhance the fidelity of the design if you proceed with rendering.
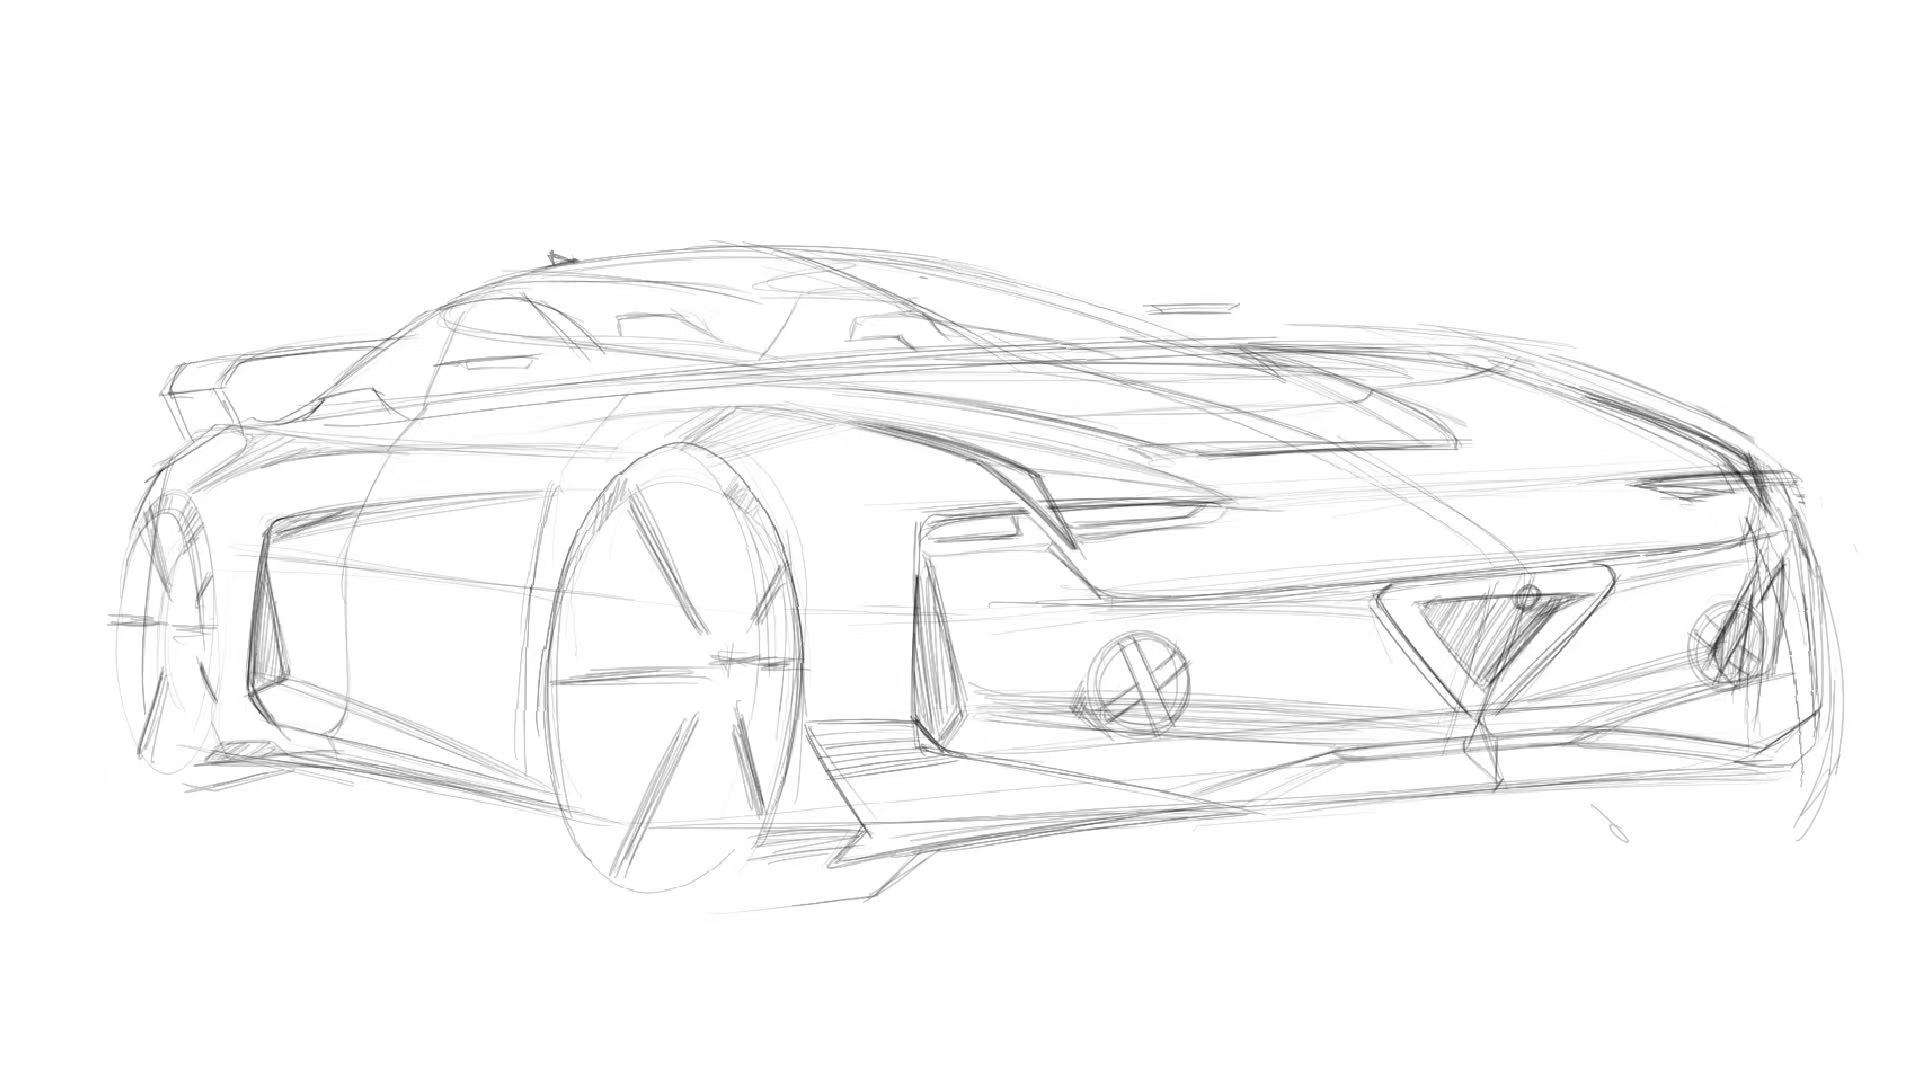
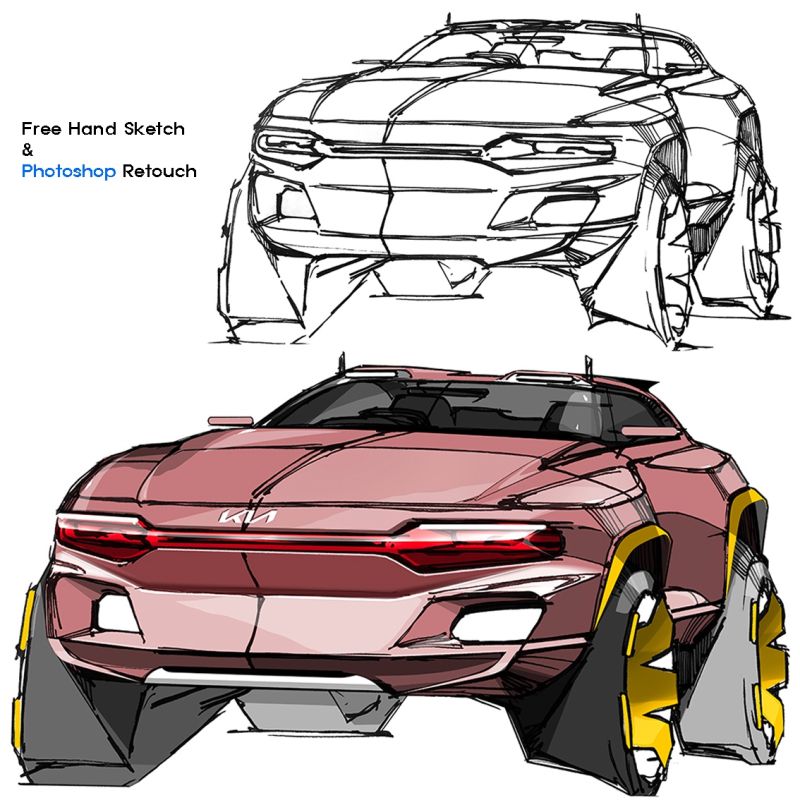
( The first row displays a student’s work from sketching and tracing to rendering. The second row contains the comments on each step. Be analytical and Train your eyes for each step.)
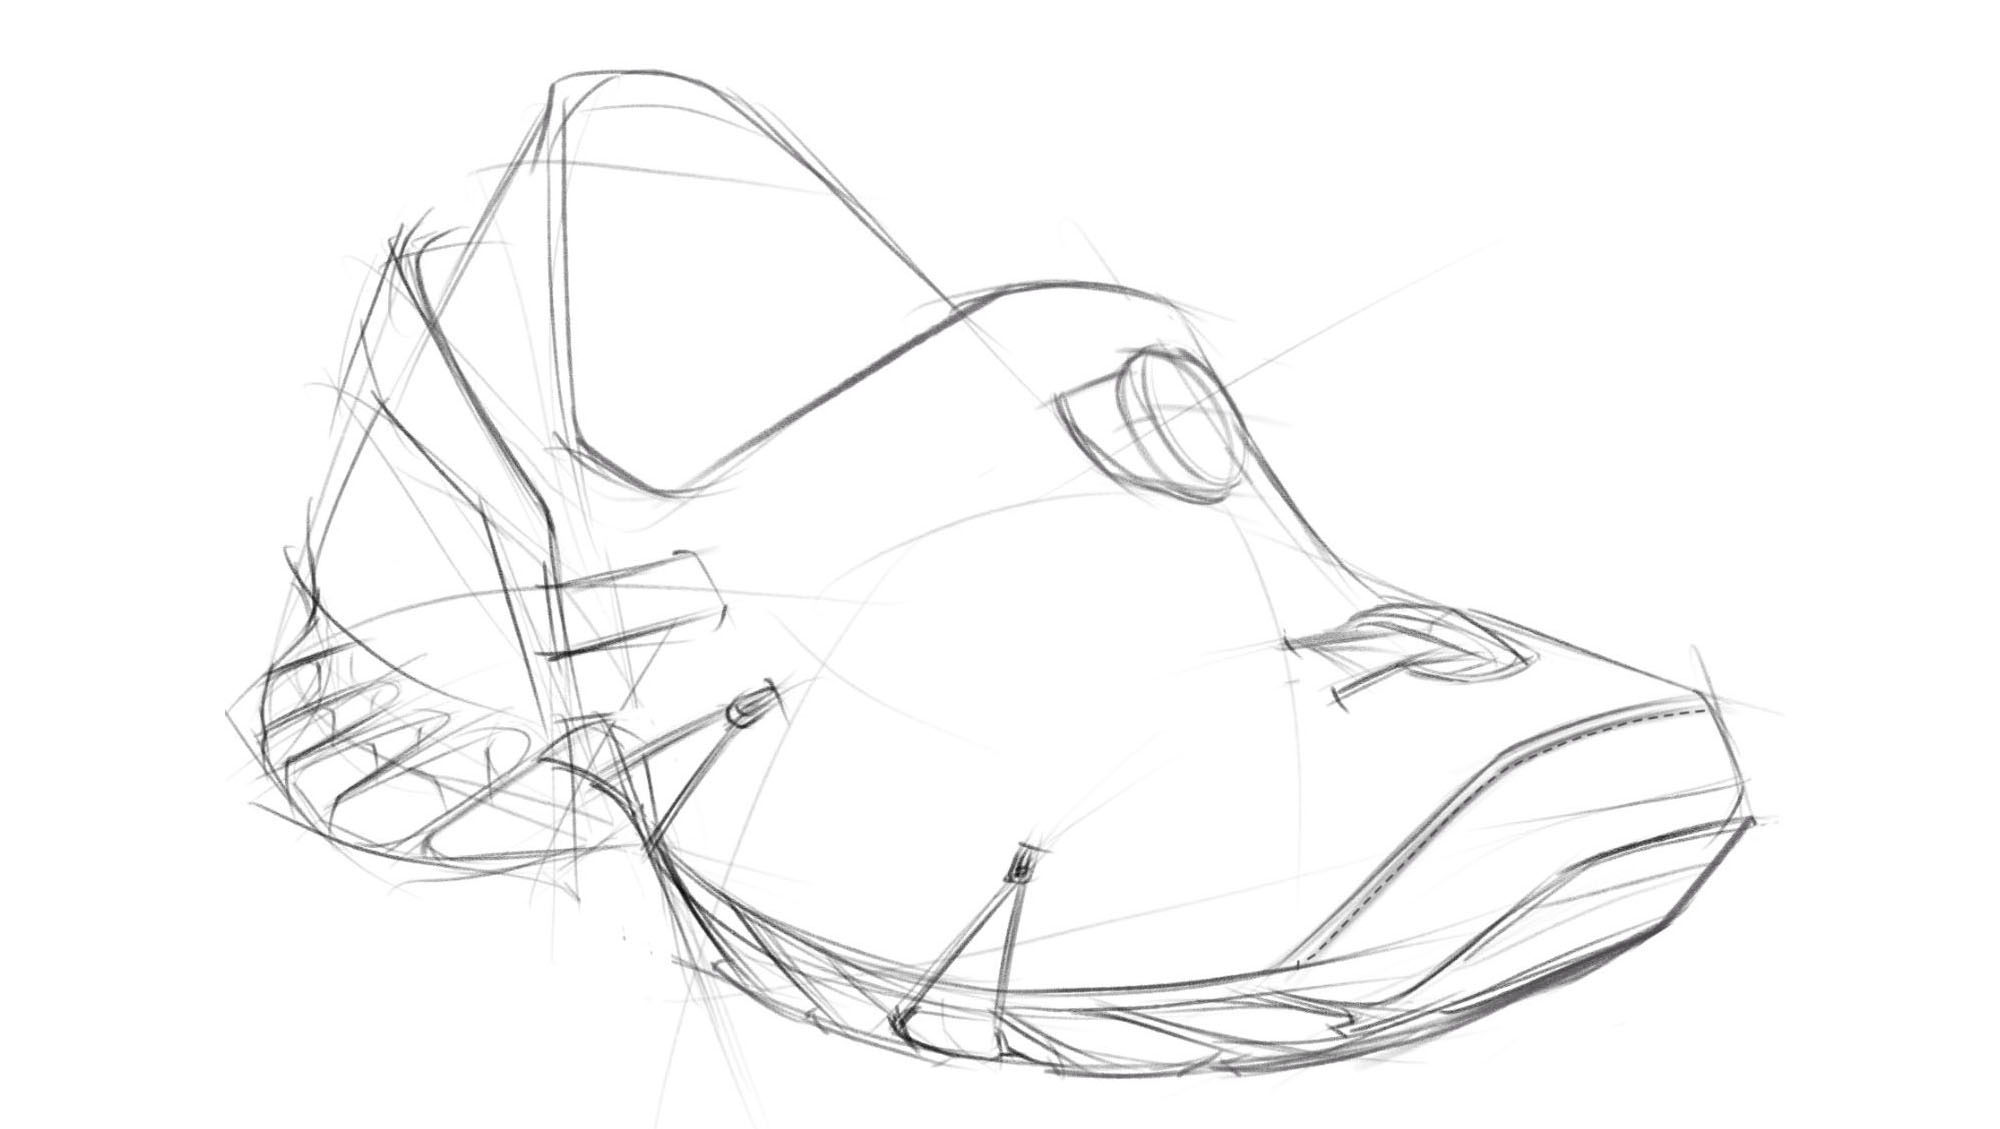
Sketching (student’s 1st step)
Comment on sketching (fixing perspective issue)
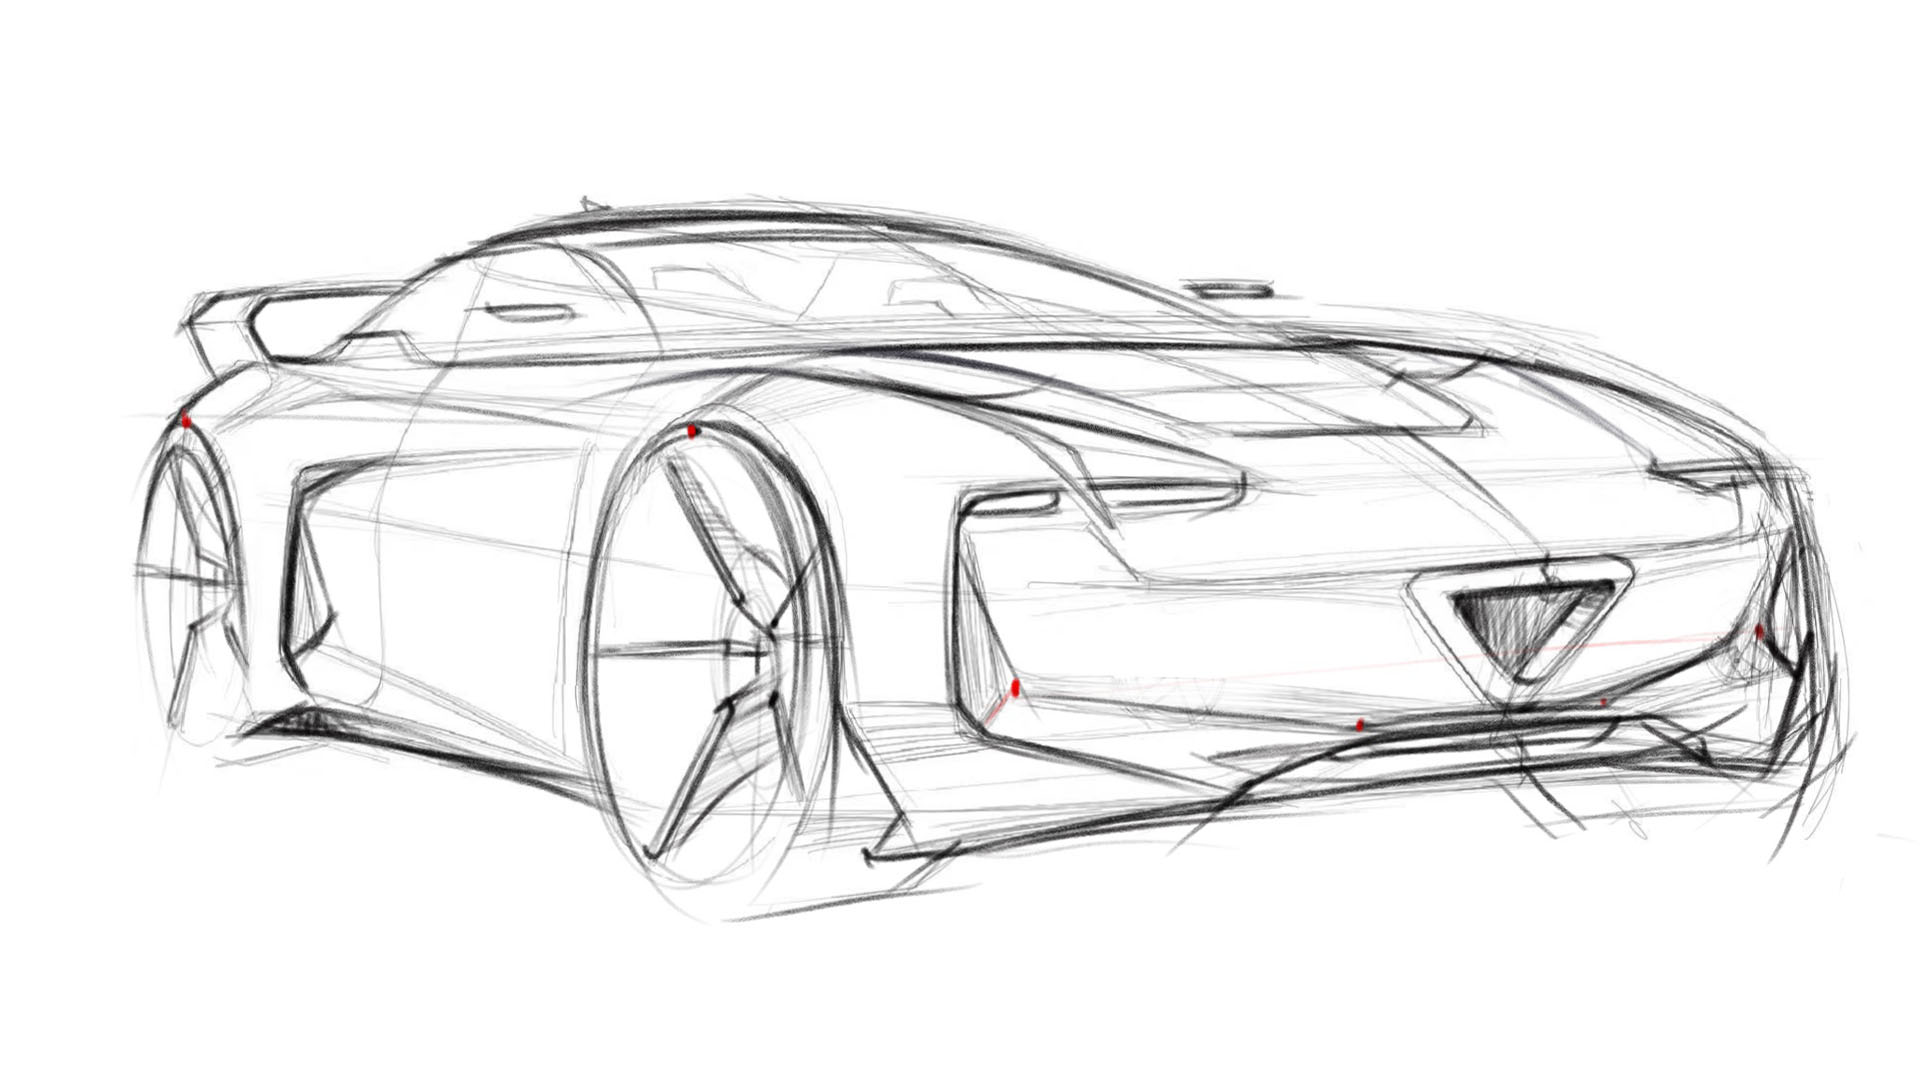
Overlay (student’s 2nd step)
Dont’t get sloppy on overlay or anything
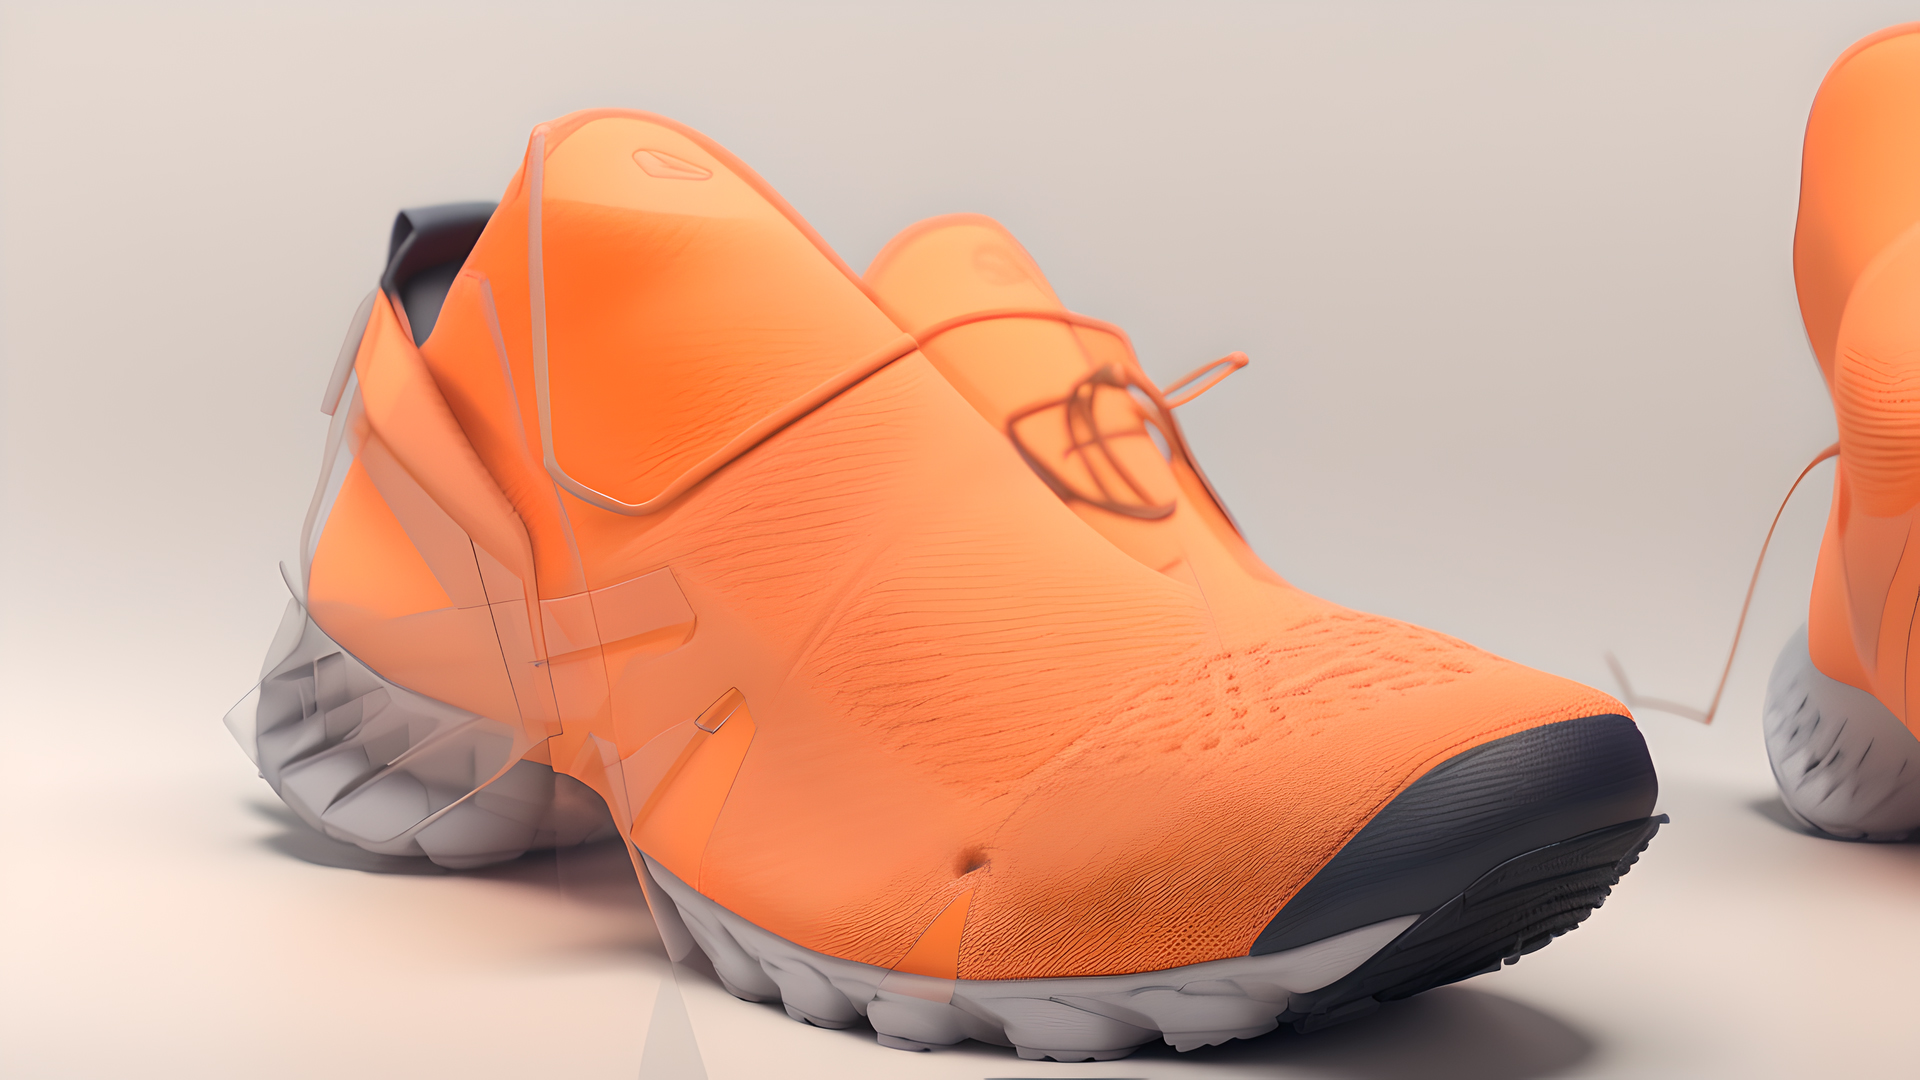
Rendering (student’s 3rd step)
Don’t lose the control of the form.
Let's Speak the Designers' Language to 'Earn' Your Way.


